Table of contents
- Key Takeaways
- What Tools Are Used for Metal Stamping?
- How Strip Layout and Die Tryout Work, Step by Step
- Tooling Build and Tryout: 10 Steps From Print to Signed Die
- 1. RFQ review and DFM risk screening
- 2. Part unfolding, material callout, grain direction, tolerance review
- 3. Strip layout planning and station sequencing
- 4. Clearance calculation, shut-height planning, tonnage checks
- 5. Tool steel selection and insert strategy
- 6. CNC machining, wire EDM, heat treatment, grinding, assembly
- 7. T1 first-hit tryout
- 8. T2 correction loop and sample confirmation
- 9. FAI, CMM and PPAP approval
- 10. Production sign-off and maintenance handoff
- The Supervisor’s Signed Tryout Checklist
- Q&A With Gulfstone’s Lead Tooling Engineer
- How Tool Architecture Changes Revision Risk
- Key Benefits: Why Tooling Turns Design Into Repeatable Production
- Challenges & Limitations: What Tooling Ownership Really Costs
- How Tooling Fit Sits Inside Water Heater Manufacturing
- Single-Hit vs. Progressive Dies
- Buyer-Protection Terms
- Final Thoughts
- Frequently Asked Questions About Stamping Tooling
Key Takeaways
- Sheet metal stamping tooling costs and lead times vary with station count, part size, material and volume.
- Simple dies cost $2,000 to $8,000; progressive tools run $15,000 to $60,000+.
- Simple tools ship in 4 to 6 weeks; complex progressive dies take 10 to 16 weeks.
- Single-hit tools win under 10,000 units; progressive dies win above 50,000 units.
- Freeze the design before steel cutting; an ECO after T1 costs $5,000 to $20,000.
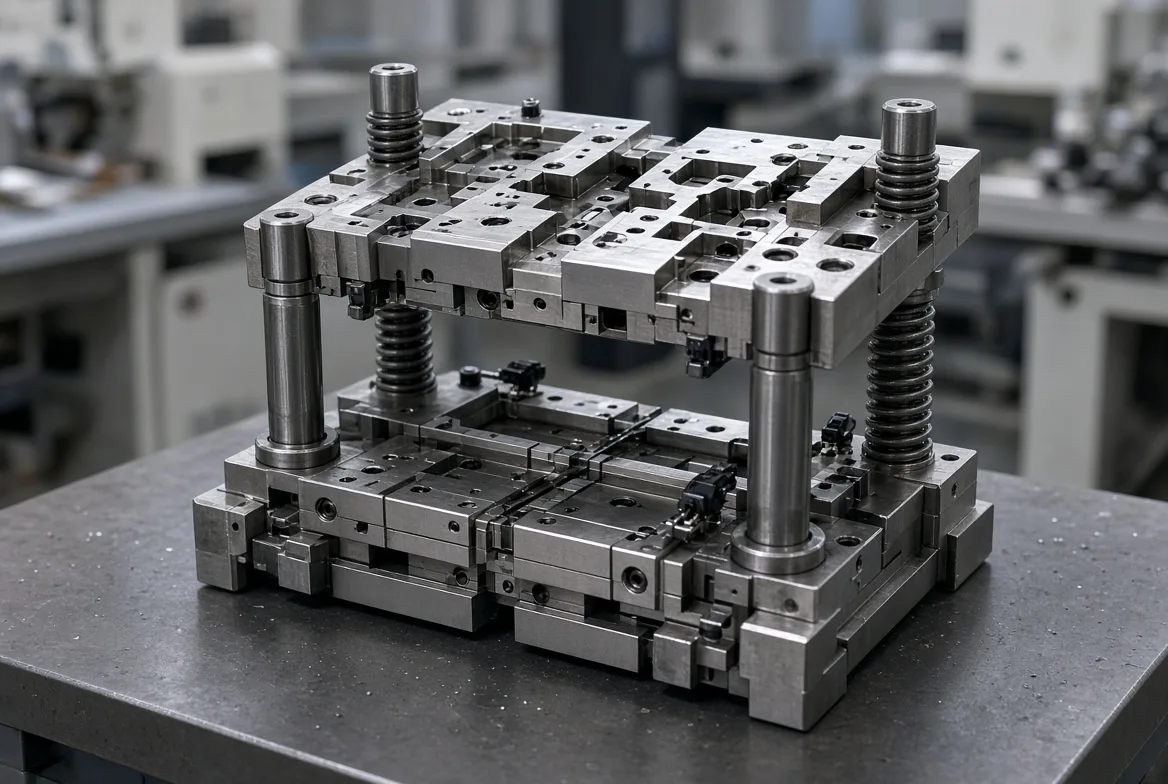
Sheet metal stamping tooling costs and lead times decide whether a launch hits its date, holds tolerance, or drowns in repeat fixture rework — not press tonnage, not the quoted piece price.
They shift with station count, part size, material hardness, surface requirements, tolerance bands, volume stability and whether your design is still moving.
No two dies are alike. A four-station tool on mild steel behaves nothing like a seven-station progressive die on high-strength alloy.
These figures come off the floor, not a brochure: RFQ reviews, tryout sheets and maintenance logs across Gulfstone’s Foshan tool room and 60+ audited partner factories, plus telemetry from more than 100,000 stamping runs across 12 progressive dies.
This guide covers what tooling controls — part repeatability, cost per piece, validation speed and maintenance risk.
Mechanical design engineers care about geometry and manufacturability, procurement directors about NRE, ownership and lead time, and supply-chain leaders about repeatability, uptime and scale.
Tooling sits at the center of all three. Get it wrong, and no piece price saves you.
What Tools Are Used for Metal Stamping?
When engineers ask what tools are used for metal stamping, the answer covers three layers: the full tooling system, the die set at its core, and the auxiliary components that locate, strip and support the stock.
A press drives a shaped tool into a flat sheet to cut or form a part. The tooling decides whether that part repeats at 0.05 mm or drifts across a shift — and it sets the piece price you eventually pay.
RFQ paperwork gets sloppy here. Keep three terms separate:
- Tooling means the complete engineered system, from design through tryout.
- Die set means the upper and lower shoes, the guide pins and bushings, and the punch and die block they carry.
- Supporting hardware means the stripper plate, pilots, sensors, lifters, springs and wear inserts that keep the die fed, aligned and serviceable.
Die set and supporting hardware are priced separately, because they fail at different rates on different schedules. A vague RFQ hides cost in the wrong line item.
Volume and part geometry then pick the architecture:
- Single-hit / single-station dies: one station, one operation per stroke.
- Compound dies: cut and form in the same stroke.
- Progressive dies: multiple stations, with the strip feeding through in sequence.
- Transfer dies: separate stations, with parts carried between them.
Then tooling stops and downstream fixtures begin: welding jigs, assembly nests, checking fixtures. A six-station progressive die can pass tryout, then jam a checking fixture because the stripper springs were undersized. That fix runs two days and a redesign, which is why a checking-fixture review belongs in die design sign-off.
Die material matters as much as geometry. Two alloys can cost the same on the PO and differ by 10x on the maintenance log — SKD11 against DC53, per the JIS G4404 grade family.
🌍 Real-World Context: Use these three terms — tooling, die set, supporting hardware — in every RFQ. It keeps die cost, maintenance and downstream fixture risk visible.
How Strip Layout and Die Tryout Work, Step by Step
Strip layout and die tryout is the sequential process that turns a flat blank print into a working tool. The path shifts with part geometry, material behavior and whether the tool is single-hit or progressive, but the order below holds.
You plan every station on the strip, cut and assemble the steel, then run iterative first-hit trials — never a single event — to prove the die repeats parts inside tolerance. This is the order the tool room runs, not the order a brochure lists.
Tooling Build and Tryout: 10 Steps From Print to Signed Die
The ten steps below trace a die from drawing review through strip layout, steel selection, tryout and approval, ending with a released tool and a maintenance handoff.
1. RFQ review and DFM risk screening
The drawing is read before it is quoted. Thin walls, sharp inside corners and stacked tolerances get flagged here.
If a corner radius is smaller than half the material thickness, expect cracking — and say so on the quote, not after T1.
2. Part unfolding, material callout, grain direction, tolerance review
The flat pattern decides everything downstream. Unfold the part, confirm the alloy callout and check grain direction against the bend lines.
Bending along the rolling direction cracks high-strength steel faster than bending across it. One 1.5 mm SPCC bracket tore at a 0.8 mm radius on a cross-grain bend.
3. Strip layout planning and station sequencing
For progressive dies, sequence the stations: pierce, notch, form, trim, cutoff. Carry tabs must hold the strip rigid through every hit.
A six-station layout for an RV mounting bracket used 6 mm tabs, with strip tension checked on a 45-ton press before any steel was cut.
4. Clearance calculation, shut-height planning, tonnage checks
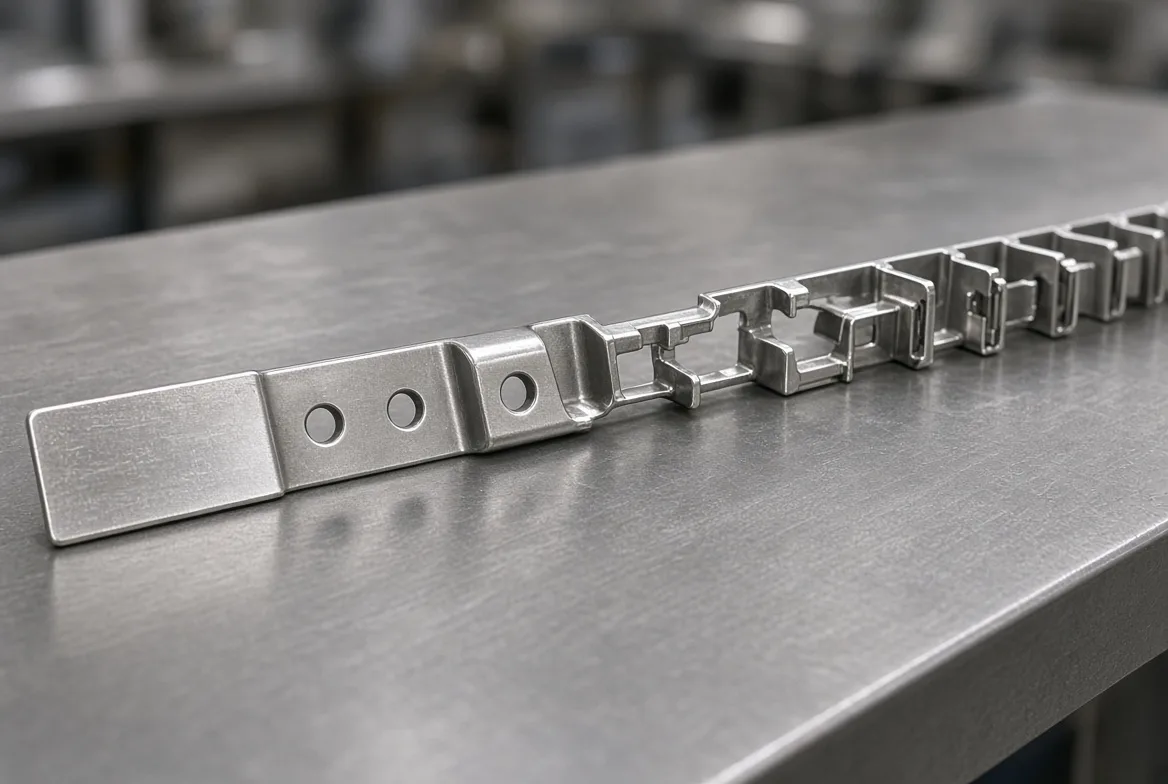
Clearance starts at 8 to 10 percent of material thickness per side. Plan shut height to the press bed, then check required tonnage against the cut perimeter.
A layout that fits the die but exceeds press tonnage is scrap steel.
⚙️ Technical Detail: Clearance is the single biggest lever on burr height. Move it 10 percent off target and burr grows, punch load climbs, and tool wear accelerates together.
5. Tool steel selection and insert strategy
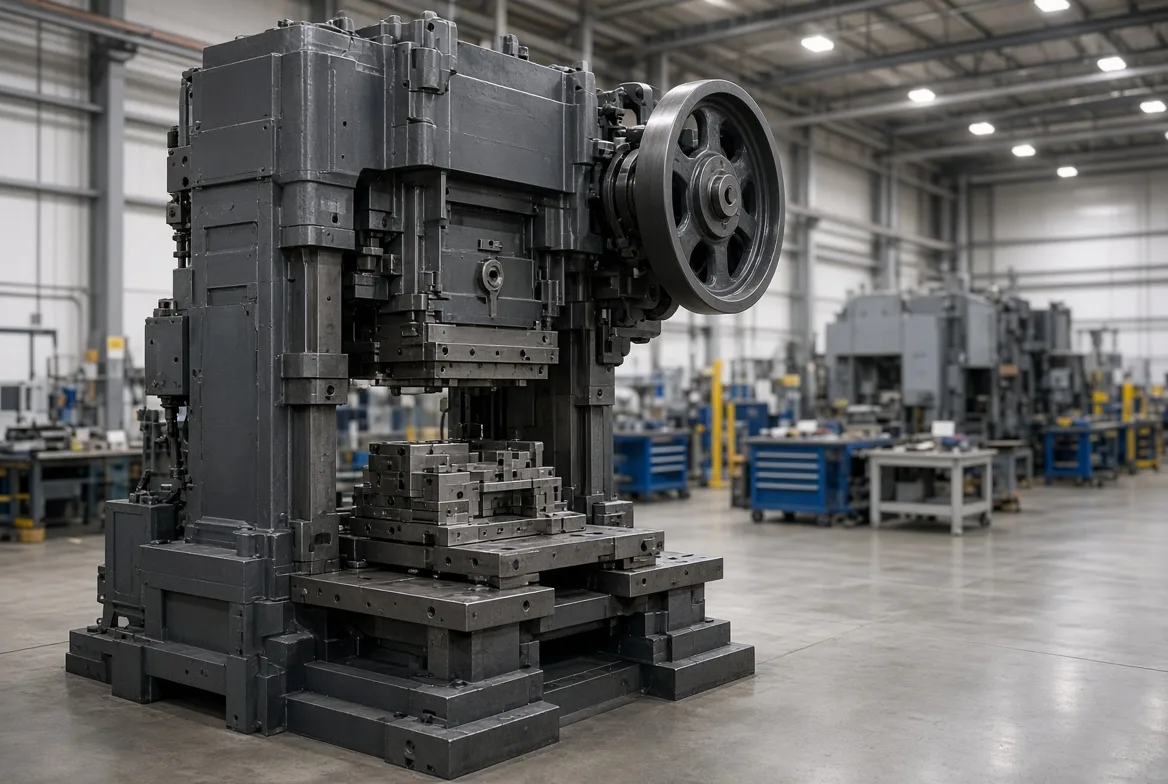
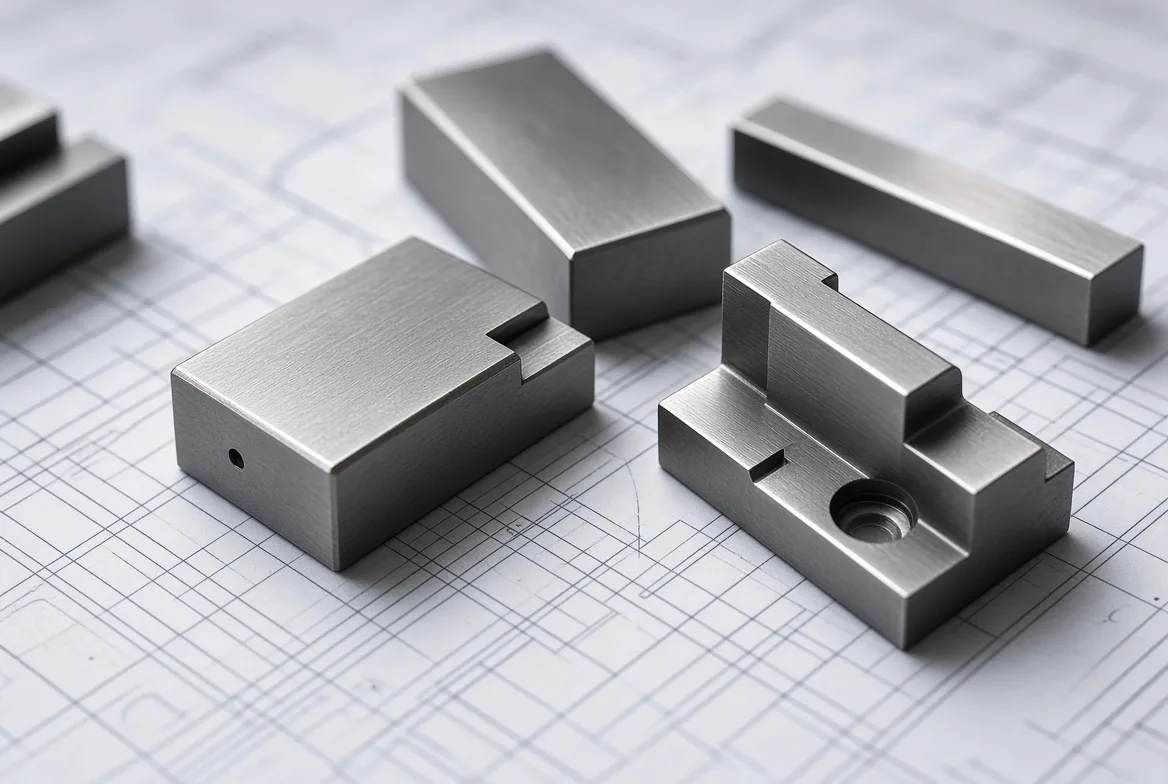
Match steel to wear, not to habit. Insert strategy puts replaceable blocks at the highest-wear stations, so a rebuild means swapping an insert rather than recutting a die block.
6. CNC machining, wire EDM, heat treatment, grinding, assembly
CNC mills the pockets. Wire EDM cuts punch and die profiles to ±0.005 mm. Then heat treat, grind to final height, and assemble with pilots, springs and sensors.
7. T1 first-hit tryout
T1 proves the tool can make a part. Run slow strokes and inspect where burrs, thinning, cracking or springback appear.
Nobody claims a win at T1. This is where the real correction list gets written.
8. T2 correction loop and sample confirmation
T2 validates the corrections, confirms repeatability and closes the gap between sample parts and production intent. Measure 30 parts across the run and compare springback, thinning and hole position against print, following the dimensional-report conventions of an ASME Y14.5 GD&T framework.
🔄 Process Loop: T1 and T2 often repeat two or three times. Each loop feeds correction data back into the same tryout checklist below.
9. FAI, CMM and PPAP approval
CMM produces the full dimensional report. FAI documents first-article conformance. PPAP, or the customer’s equivalent package under the AIAG core-tools framework, closes the loop.
10. Production sign-off and maintenance handoff
Release the die with a sharpening schedule, spare inserts and sensor settings recorded.
The Supervisor’s Signed Tryout Checklist
The checklist below is what the press supervisor signs before a die is released. Every line is a go/no-go, not a suggestion.
- Burr height and edge rollover (held under 0.05 mm)
- Hole size and positional repeatability (±0.03 mm)
- Part flatness and twist
- Thinning at corners and draw zones
- Springback angle versus print target
- Slug pull and slug retention
- Stripper pressure and part release
- Sensor status and missed-feed protection
- Lubrication pattern
- Shut height and parallelism
- Fit in the checking fixture or downstream weld fixture
Q&A With Gulfstone’s Lead Tooling Engineer
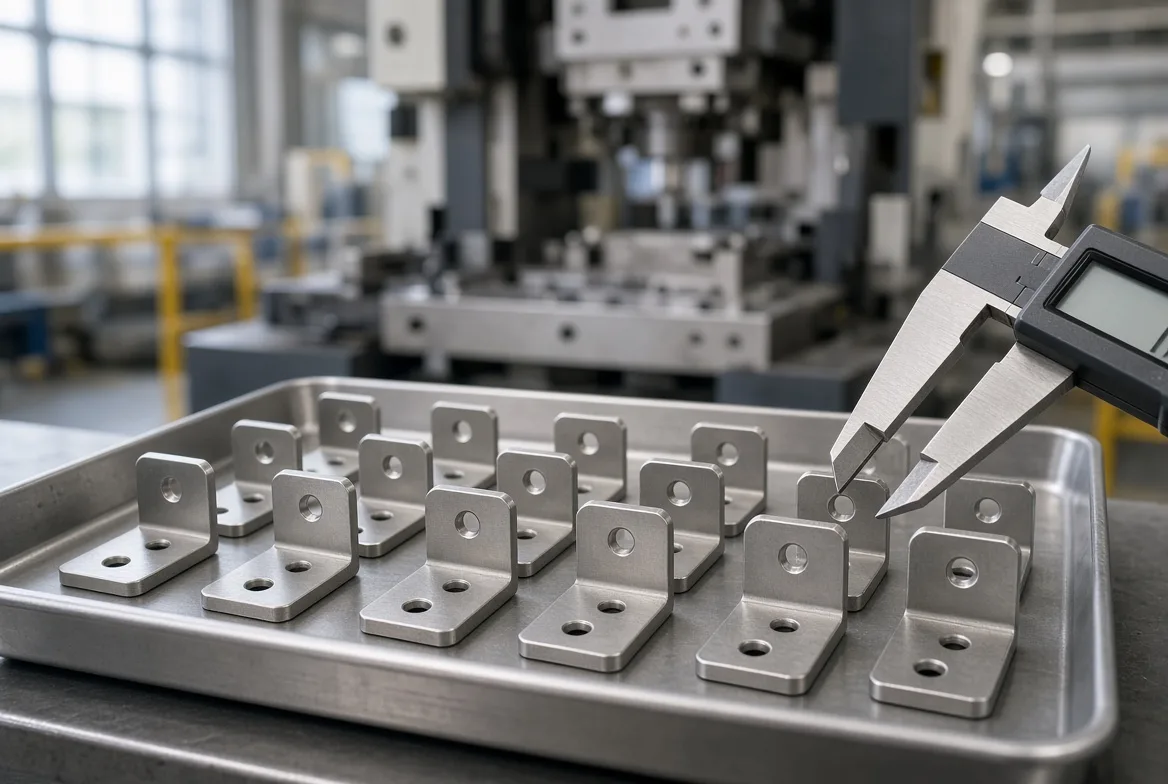
The three answers below come from Jason Wu, Gulfstone’s Lead Tooling Engineer, on how clearance, steel grade and insert strategy change cost and wear.
Q: How does clearance optimization change burr, punch load and wear?
A: “Tighter clearance shears cleaner and lowers burr. It also raises punch load and accelerates wear. We balance that against the alloy.”
Q: When is tighter clearance worth it, and when does it raise galling or chipping risk?
A: “On thin stainless, tight clearance pays. On thick high-strength steel, it promotes galling and chipping. We add coating and clearance instead.”
Q: Why choose SKD11 versus DC53?
A: “SKD11, per the JIS G4404 grade family, gives strong wear resistance for high-volume blanking. Daido Steel’s DC53 delivers better toughness at similar hardness, so it resists chipping when shock loads hit.”
What that means for a buyer:
- Premature wear risk: lower with matched steel selection.
- Sharpening frequency: SKD11 lasts longer in pure abrasive wear.
- Crack and chip resistance: DC53 wins on interrupted cuts.
- Spare-part cost and downtime exposure: insert strategy caps both.
Q: How does insert strategy shorten rebuild time?
A: “We swap a worn insert in hours. Full die cuts take days and stop your line.”
How Tool Architecture Changes Revision Risk
Single-hit tools are simpler and more flexible for revisions. A 50-unit pilot launch can tolerate one hit per operation and still hit its date.
Progressive dies compress multiple operations into one repeatable flow, which suits a large OEM ramp where cycle time and labor cost dominate.
Transfer-style logic matters when the part cannot stay on a carrier strip — deep drawn housings that need repositioning between stations, for instance.
Whichever path you pick, the tryout loop stays the same. T1 reveals the truth. T2 proves you fixed it. The volume math behind the choice sits below.
Key Benefits: Why Tooling Turns Design Into Repeatable Production
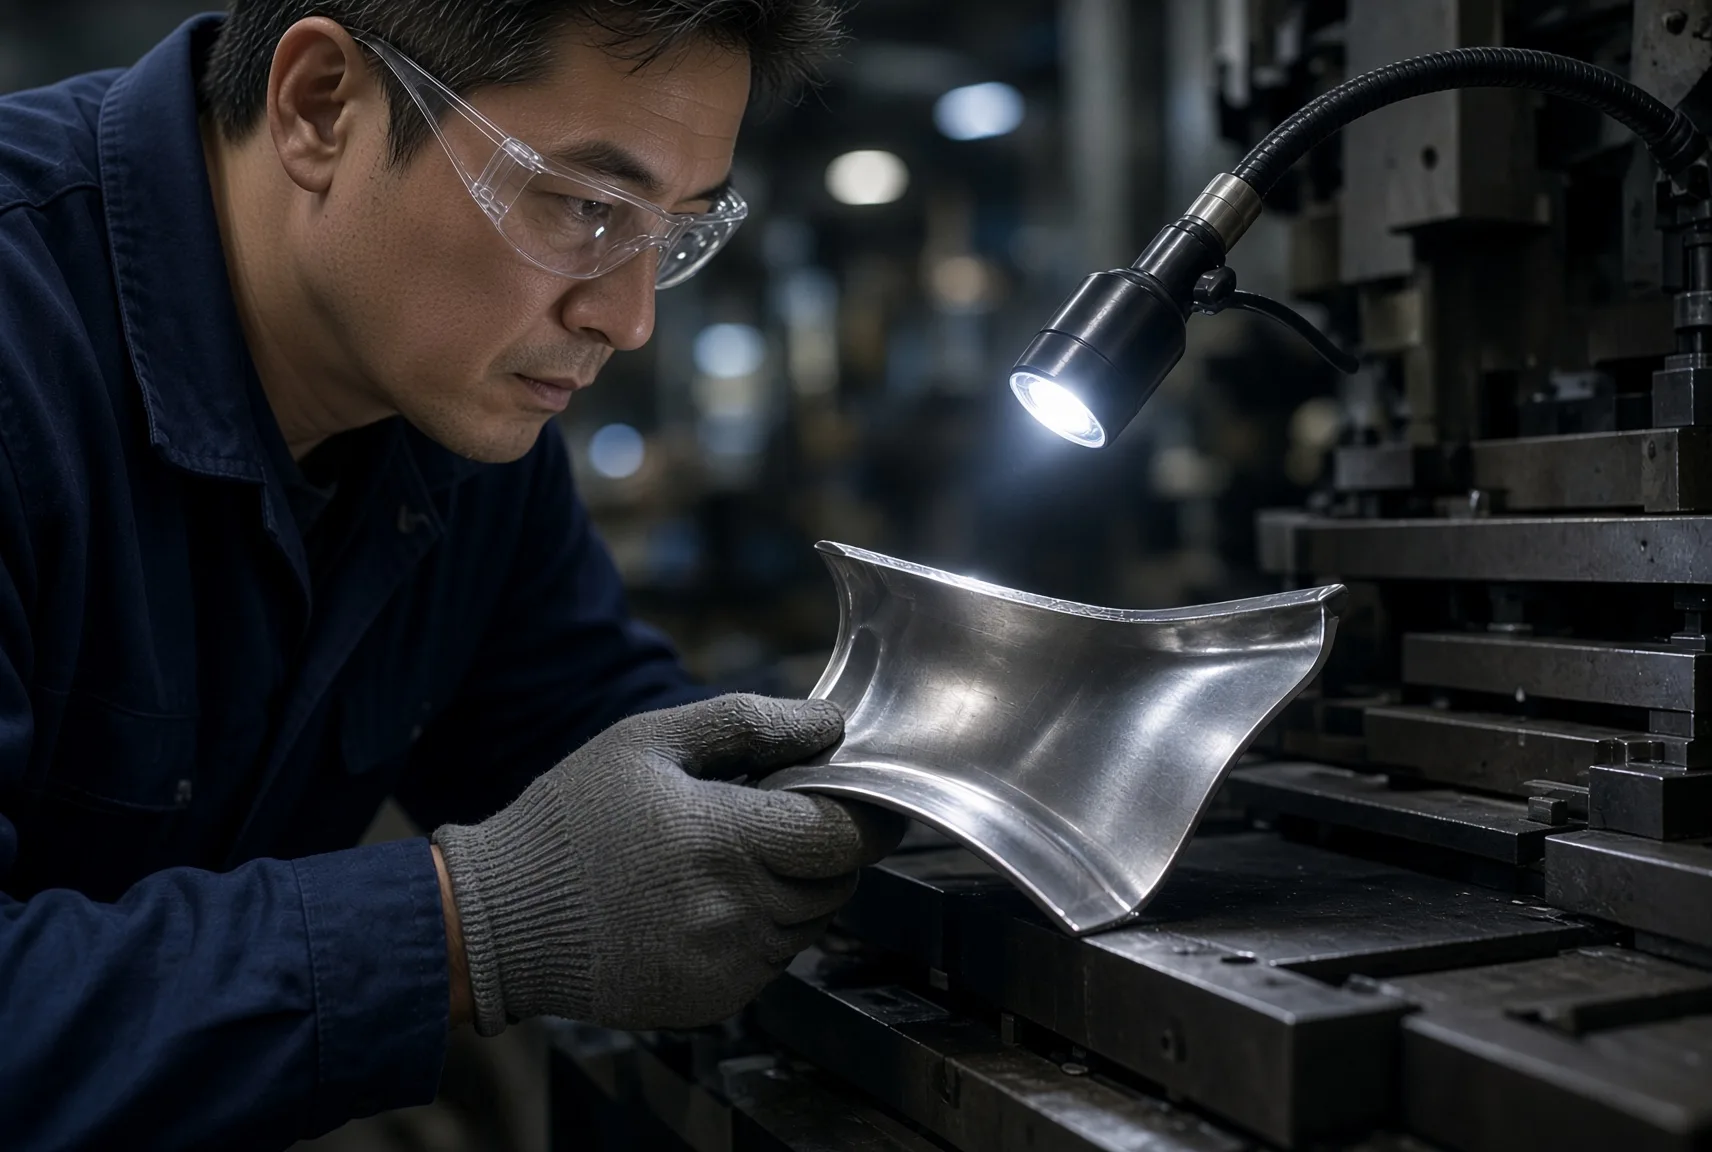
Validated tooling delivers high production speeds and repeatability — not press tonnage. Those gains only appear when the die is validated, maintained and matched to stable volume and geometry. The figures below come from MES/ERP history, maintenance logs, CMM reports and first-article records.
Repeatable parts: lock hole positions, bend angles and cutoff edges
Consistent parts cut downstream sorting. CMM data from a six-station progressive die held hole positions at ±0.03 mm and bend angles within 0.5° across 12,000 hits.
Burr height grew from 0.02 mm at 5,000 hits to 0.05 mm at 18,000, per the hit-count versus burr-growth log. Scrap rate fell from 3.8% before die correction to 0.4% after T2.
Lower cost-per-piece: amortize the tool, then cut touches
Once amortized, the tool lowers labor content, setup touches and secondary handling. Progressive tooling removes manual transfers and secondary operations.
| Annual volume | NRE | Cost per part |
|---|---|---|
| 2,500 | $18,000 | $8.90 |
| 10,000 | $18,000 | $4.20 |
| 50,000 | $18,000 | $2.15 |
| 250,000+ | $18,000 | $1.34 |
NRE stays higher for progressive dies, but long-run part cost falls. Setup touches dropped from 6 per shift to 2, and maintenance cycles moved from 8,000 hits between sharpening on mild steel to 22,000 with insert strategy and matched steel.
Break-even on the tooling NRE usually sits near 10,000 units; the architecture crossover where progressive dies beat single-hit tools lands above 50,000 units, once geometry is stable.
Fewer fixture reworks: stabilize welding and assembly
Consistent incoming parts reduce welding-jig adjustment, assembly interference and late-stage line debugging. A 1.5 mm bracket with hole drift above 0.08 mm forced 4 hours of jig chasing per shift.
After die correction, drift dropped below 0.03 mm and jig adjustment fell to 20 minutes.
📈 ROI Check: Plot scrap rate, burr growth and setup touches against hit count. If your design still changes, expect savings to shrink — revision risk eats the curve.
Challenges & Limitations: What Tooling Ownership Really Costs
Intervals, tooling life and economics vary widely by material, hit rate, lubrication and die architecture. Every die is tracked in the Foshan tool room.
High NRE and design-freeze penalties
Simple dies land at $2,000 to $8,000 NRE. Progressive tools run $15,000 to $60,000+. These are planning ranges, not promises.
Approval adds weeks: a six-station RV bracket die spent six weeks in PPAP loops. An ECO after T1 costs $5,000 to $20,000 plus 2 to 4 weeks. Freeze the design before steel cutting.
Lead time and supplier lock-in
Simple tools ship in 4 to 6 weeks. Complex progressive dies take 10 to 16 weeks: machining, heat treat, assembly and tryout each add delay.
After delivery, you depend on your supplier for storage, spare punches and repair response. One partner factory held a die three months over unpaid storage fees. Negotiate storage terms upfront.
Wear drift and the PM checklist
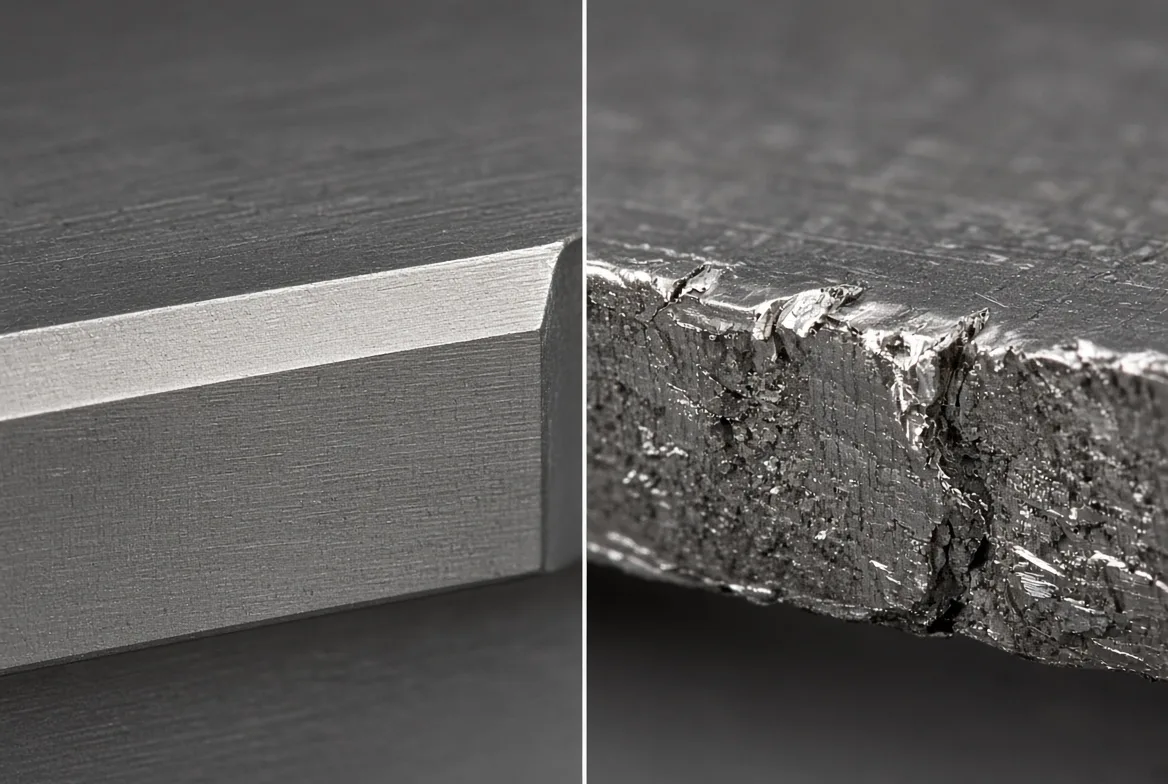
Burr height grows from 0.02 mm at 5,000 hits to 0.05 mm at 18,000 on mild steel. Hole positions drift past 0.08 mm without PM, jamming welding fixtures.
- Clear slug buildup and debris.
- Inspect punches, buttons and wear inserts.
- Verify guide pins and bushings.
- Lubricate moving surfaces.
- Verify sensors and die protection.
- Check gas or nitrogen spring pressure.
- Confirm shut height and alignment.
- Hand-cycle before restart.
- Log hit count and sharpening date.
Minor PM runs at 5,000 hits and major sharpening at 22,000 on mild steel. Stainless and high-strength steel drop both to 3,000 and 10,000. On the floor: skip the 5,000-hit PM, and burr growth shows by 8,000.
How Tooling Fit Sits Inside Water Heater Manufacturing
Tooling is the front of the line, not the whole line. The stamping step sits inside a wider RV water heater manufacturing process, where brackets, burner plates and enclosure panels feed welding, glass-lining and assembly.
Downstream fit-up is where tooling choices show up as cost. The dimensional discipline behind it — the tolerances a part is built to — sits on the manufacturing page, and the gate logic that catches a drifting die sits on the quality control page.
A private-label program ties tooling, MOQ and packaging to your mark, which is covered on the OEM/ODM page. If your part must drop into an existing RV envelope, the fitment framework lives on the RV OEM solutions page.
Single-Hit vs. Progressive Dies
Single-hit or staged tooling wins under 10,000 units, or while the design still moves: revisions cost less and move faster. Progressive dies win above 50,000 units when geometry is stable. During heavy design churn, laser or punch plus brake forming is a safer bridge.
Buyer-Protection Terms
Get tool ownership and storage liability in writing. Fix stroke-life warranty limits. Order spare punch kits with the die, on their own four-week lead time. Clarify who pays rebuilds after design changes or misuse.
The wrong tooling strategy can erase the savings from a low quoted piece price.
Final Thoughts
High-volume success with metal stamping depends on four variables working together: design stability, real annual volume, tolerance demand and maintenance discipline. The right tooling path follows those four, not the lowest piece price.
Define your part and tolerance risk first. Match die architecture to real annual volume: single-hit tools below 10,000 units or while geometry still moves, progressive dies above 50,000 once the design freezes.
Validate through strip layout and T1/T2 tryout, never a single hit. Then protect the asset with documented maintenance intervals, ownership terms and spare-insert planning.
That sequence delivers repeatable parts, lower cost-per-piece and fewer fixture reworks. Those gains come from better tooling decisions, not wishful quoting.
Your next step is concrete: send the print, annual volume and launch window. The team returns a DFM review, a tooling-path recommendation and a cost and lead-time risk assessment tied to your project — start through the contact and RFQ page.
These findings reflect internal process experience and available production data. I receive no manufacturer kickbacks for these findings.
Frequently Asked Questions About Stamping Tooling
1. What is metal stamping?
Metal stamping is a press-driven process: a press drives a shaped tool into a flat sheet to cut or form a part. The tooling decides whether that part repeats at 0.05 mm or drifts across a shift, and it sets the piece price you eventually pay.
2. What tools are used for metal stamping?
The tools used for metal stamping fall into three layers: the complete tooling system, the die set at its core, and the supporting hardware. Tooling means the engineered system from design through tryout.
The die set means the upper and lower shoes, guide pins and bushings, and the punch and die block they carry. Supporting hardware covers stripper plates, pilots, sensors, lifters, springs and wear inserts.
3. What is the difference between a single-station die and a progressive die?
A single-station die performs one operation per stroke, while a progressive die carries multiple stations with the strip feeding through in sequence.
Single-hit tooling wins under 10,000 units or while the design still moves, because revisions cost less and move faster. Progressive dies win above 50,000 units once geometry is stable.
4. What is the most expensive part of metal stamping?
The tool itself is the largest upfront cost in metal stamping. Simple dies land at $2,000 to $8,000 NRE, while progressive tools run $15,000 to $60,000 or more, and these are planning ranges, not promises.
Design changes add more: an ECO after T1 costs $5,000 to $20,000 plus 2 to 4 weeks.
5. Can a metal stamping tool be modified?
Yes, a metal stamping tool can be modified, but changes after the first tryout are expensive. An ECO after T1 costs $5,000 to $20,000 plus 2 to 4 weeks.
Single-hit tools tolerate revisions better because they are simpler, and insert strategy lets a worn block be swapped in hours instead of recutting the whole die.
6. How long does a metal stamping tool last?
Tool life is measured in hits between sharpenings, not in years. On mild steel, minor PM runs at 5,000 hits and major sharpening at 22,000. Stainless and high-strength steel drop both intervals to 3,000 and 10,000.
Burr height grows from 0.02 mm at 5,000 hits to 0.05 mm at 18,000.

Forward
Co-founder & General Manager, GulfstoneGas appliance manufacturing and certification
Most of what decides a gas appliance is settled before anything is built — on the drawing, at the cut-out, in the tolerance someone chose for the gas path. I have spent my working life on the manufacturing side of that decision, and this is where I write down what it has taught me.
Nothing here is written from a sales desk. Every note comes off the floor: a batch held until a reason was found, a fitting that failed in transit, an approval path that only made sense once the destination market was fixed. If you read these first, the opening conversation starts at the standard rather than at the beginning.
- Gas water heater engineering
- Design for manufacturing
- Certification path selection
- Private-label tooling
- Off-grid and outdoor water heating
- How Do You Build RV Technician Training Material That Slashes Misdiagnosed Returns?Oct 11, 2026
- How Do You Build a High-Coverage RV Water Heater Spare Parts Kit for Fleets and Dealers?Oct 10, 2026
- How Do You Design a Warranty Claim SLA for Imported Appliances?Oct 9, 2026
- 12V RV Electrical System Appliance: An OEM Integration GuideOct 8, 2026
- How to Specify an Extreme Conditions RV Water Heater: An OEM Engineering GuideOct 7, 2026
- RV Water Heater Cutout Size: A Factory-Grade Measurement GuideOct 6, 2026
Fifteen years in appliance manufacturing — home appliances, RV refrigeration, then gas water heating — from the drawing to the shipping container.
Leads Gulfstone's design-for-manufacturing reviews and the certification path selected for each destination market.
Works directly with OEM and private-label buyers on tooling, tolerances and the approval file.