Table of contents
- Key Takeaways
- Prerequisites: Records and Safety Before Any Tools
- Atwood 10-Gallon Replacement: 4 Steps From Label Check to Signoff
- Step 1: Verify the Existing Unit and Choose the Replacement Path
- Step 2: Validate the Door Kit and Fitment
- Step 3: Tear Down the Legacy Unit and Assess Cross-Brand Viability
- Step 4: Remove, Dry-Fit, Reconnect, and Commission the Swap
- Troubleshooting a Failed Atwood Replacement
- Conclusion: One Retrofit, One Documented Standard
- Frequently Asked Questions About Atwood 10-Gallon Replacement
- 1. What is the direct replacement for the 10 gal Atwood water heater?
- 2. What are the rough opening dimensions for an Atwood GC10A?
- 3. Can I replace a Suburban or Atwood 10 gallon heater with a Dometic?
- 4. Do I need a new exterior access door kit?
- 5. Why won’t my Atwood water heater ignite?
- 6. Will a tankless RV water heater fit an Atwood opening?
Key Takeaways
- An Atwood 10-gallon replacement qualifies as a direct fit only after the model label, cutout dimensions, door hardware, gas routing and wiring all check out.
- Treat the 16-3/8-inch square rough opening, 20-1/2 inches deep behind the flange, as a baseline rather than a guaranteed fit.
- Call a unit a true drop-in only when the chassis, flange and door geometry match the opening you measured.
- Dry-fit the new chassis before you seal anything, and check door clearance on all four sides.
- Pressure-test the water lines at 40 psi for 15 minutes and the gas line for 5 minutes before you commission the heater.
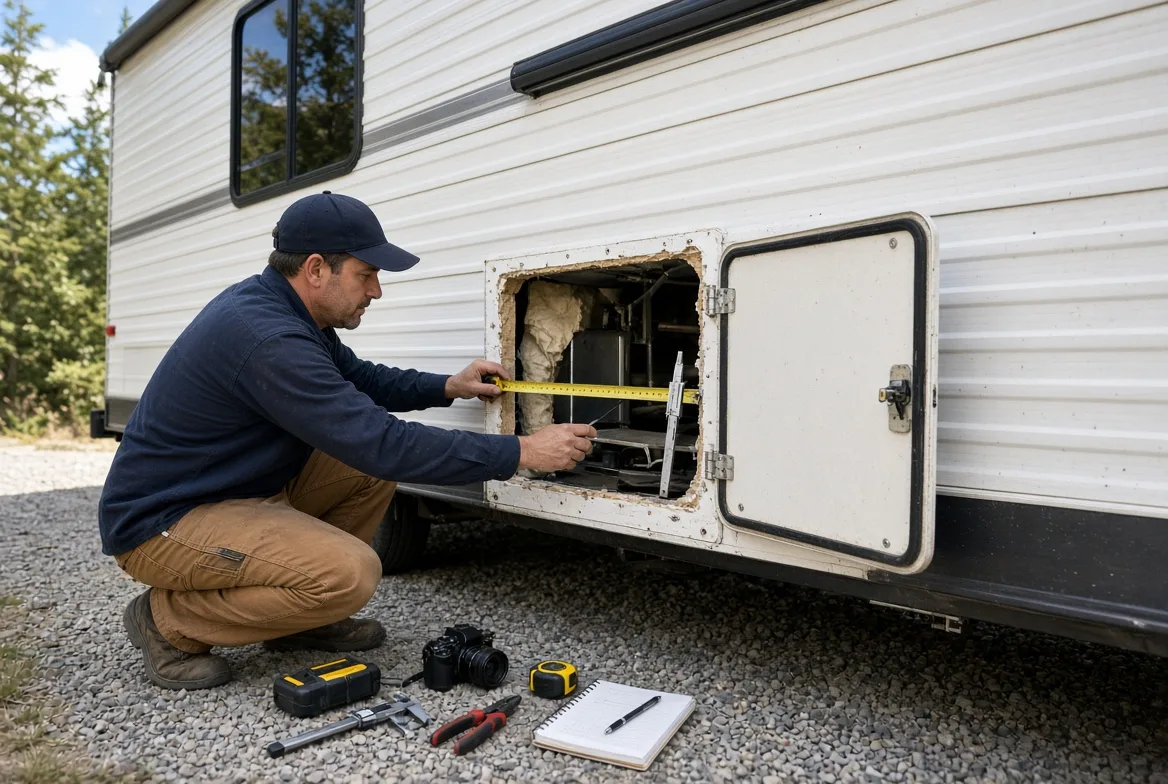
An Atwood 10-gallon replacement is a measurement job before it is a parts order. Coaches built on a legacy Atwood opening usually end in one of three states: a direct-fit tank swap, a cross-brand tank replacement, or a tankless conversion. The measurements decide which one you are buying long before the price does.
Our engineering team built this guide from real fleet retrofits and shop teardowns. Follow this strict checklist to replace your water heater safely, in order, from the label check through the pressure test.
Always measure your rough opening before buying parts. Document every step from the old unit teardown to the final pressure test, because a fit sheet built from the label is what keeps a direct-fit order direct.
The Atwood GC10A baseline is a 16-3/8 inches wide by 16-3/8 inches high rough opening, 20-1/2 inches deep behind the flange. Treat that as a starting point, and match every measurement to the exact label and spec sheet for the unit in front of you.
Prerequisites: Records and Safety Before Any Tools
The job pack came out of four retrofits across three label variants. Isolate propane at the tank, lock out the 12V and 120V circuits, and confirm the tank is cool and depressurized before any fitting comes apart. Cross-check the job against NFPA 1192 and RVIA-style installation requirements as you go.
⚠️ Safety first: Isolate propane at the tank before breaking any fitting. Lock out 12V and 120V circuits. Treat hot water lines as a scald hazard. Never bypass thermal fuses or safety devices. If the model label is unreadable, stop and source the manufacturer spec sheet before you go further.
Inputs: a photo of the exact model label; rough opening width, height and depth; flange depth; door dimensions; gas inlet location; a 12V harness photo; and a note of any existing 120V circuit. Tools: tape measure, calipers, multimeter, manometer, butyl tape, approved sealant, a camera and a CAD overlay template.
Time and skill: RVTI technician level, four to six hours to isolate utilities, remove the old unit, dry-fit the chassis and run the live leak and ignition checks. Fleet jobs usually add a purchasing pack: a one-page spec sheet with labeled dimensions, photos, part numbers and a pass/fail row, filed with the unit records.
Reference: use the exact installation manual for your model, the unit rating plate, and the certification file that supports the SKU.
Atwood 10-Gallon Replacement: 4 Steps From Label Check to Signoff
The four steps below run from the label check through teardown, fitment, dry-fit and commissioning, so the coach leaves the bay with a documented retrofit instead of an open question.
Step 1: Verify the Existing Unit and Choose the Replacement Path
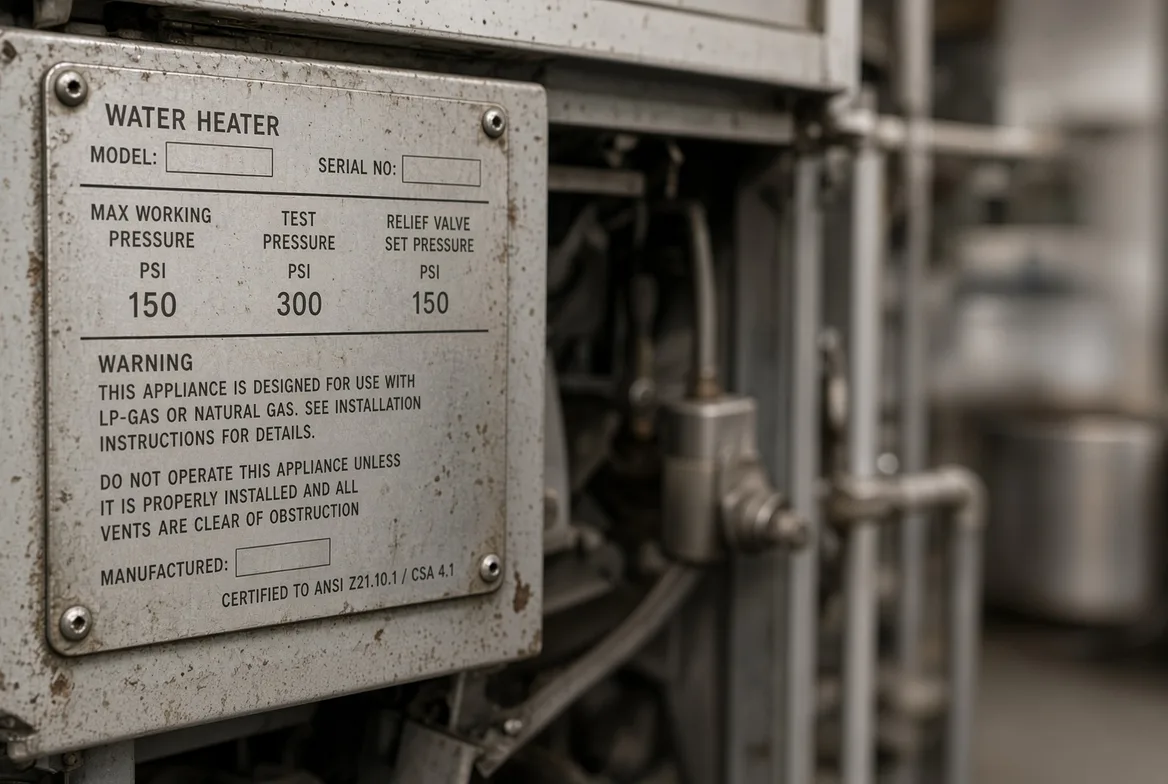
An Atwood 10-gallon replacement starts by confirming that the coach has a legacy Atwood 10-gallon unit, and the data label is the only place to confirm it. On a 2016 Class C teardown, the plate sat behind the exterior door hinge and read GC10A-4E, with the ANSI Z21.10.1 and CSA 4.1 certification line underneath.
The door had brittle sealant that crumbled at the touch, soot streaks ran up the trim, and the top corner was warped. All three point to repeated heat cycling and probably loose internal fittings, so photograph the label and record the model family before you order anything.
Measure the rough opening at three points each way, then record flange depth, door size, gas inlet position and the 12V harness layout. Check the floor lip for rust and the 12V connector for scorched pins.
Three paths cover almost every job:
- Direct-fit 10-gallon replacement. Keeps the opening, door and utility runs, with the least fabrication.
- Cross-brand tank replacement. Works when the cutout and door can carry a different tank shape, and adds adapter or framing work.
- Tankless conversion. Needs a venting and gas-capacity study before it counts as a candidate.
Procurement teams usually rank the path with the least fabrication labor and lowest installation risk. Fleet teams rank the path with the least downtime. Decide which priority applies before any money moves.
🧠 Adjacent case: If the label comes back SW6D or SW6DE, stop and use the six-gallon fitment rules instead. Cutout and door geometry differ, and ten-gallon numbers do not carry over.
✅ Verification: You have a photographed label and one documented path choice before the old unit comes out.
⚠️ Experience warning: I have seen technicians skip the label check and order a direct-fit ten-gallon unit that missed the door flange entirely. The return and reorder added two weeks to the project.
Step 2: Validate the Door Kit and Fitment
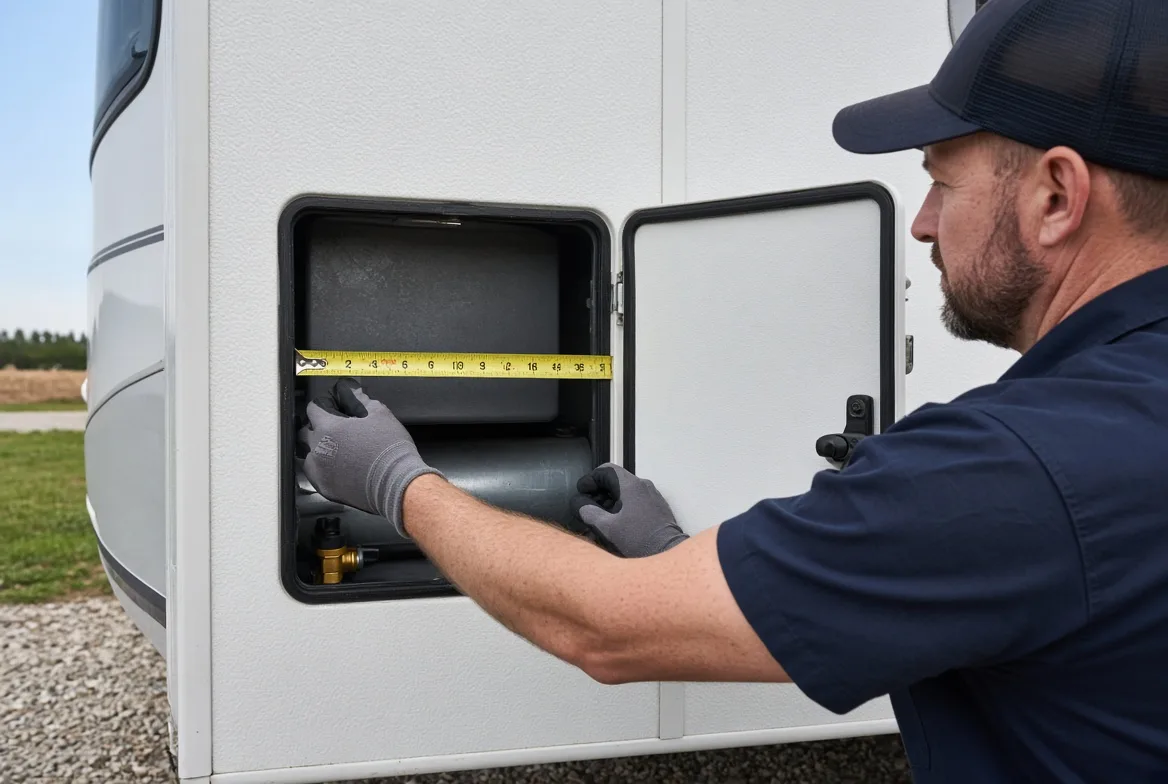
The Dometic WH-10GEA retrofit door kit is a candidate for Atwood 10-gallon openings, not a guaranteed fit. Validate it against the cutout and latch geometry on the coach, not the product title.
Record the legacy opening width, height and depth at three points each, then compare them with the candidate chassis and flange. Use the GC10A baseline as a reference only; the label and its spec sheet always come first. Production teams can standardise the opening against the manufacturing line instead of remeasuring each time.
Photograph the opening square-on with a tape in frame for scale. Build a CAD-style overlay that maps chassis, flange, door and latch points, and label every line in text so the drawing survives colorblind readers and screen readers.
Decide the door last. Reuse it only when hinge points, latch strike and flange depth all match. Order a new door or trim kit if any one differs. A cheaper chassis that forces re-framing, trim work or repeated sealing is the more expensive unit; one budget purchase here added six hours of trim work and two return trips.
🔬 Sensory check: A seated flange sits flush with no shadow gap. Door reveal lines stay even on all four edges, and proper butyl compression leaves a thin, continuous squeeze-out ribbon. Lumps, voids or an uneven reveal line mean the fit failed.
Pass and fail criteria:
- True drop-in: chassis, flange and door all match the measured opening.
- Door-only adaptation: the chassis fits but the door hardware differs.
- Opening modification: cutout or latch geometry does not align, and the project needs framing work.
⚠️ Experience warning: A 3/16 inch latch offset only showed up in the CAD overlay. Left for the day of the install, it would have cost a full day of rework.
Step 3: Tear Down the Legacy Unit and Assess Cross-Brand Viability
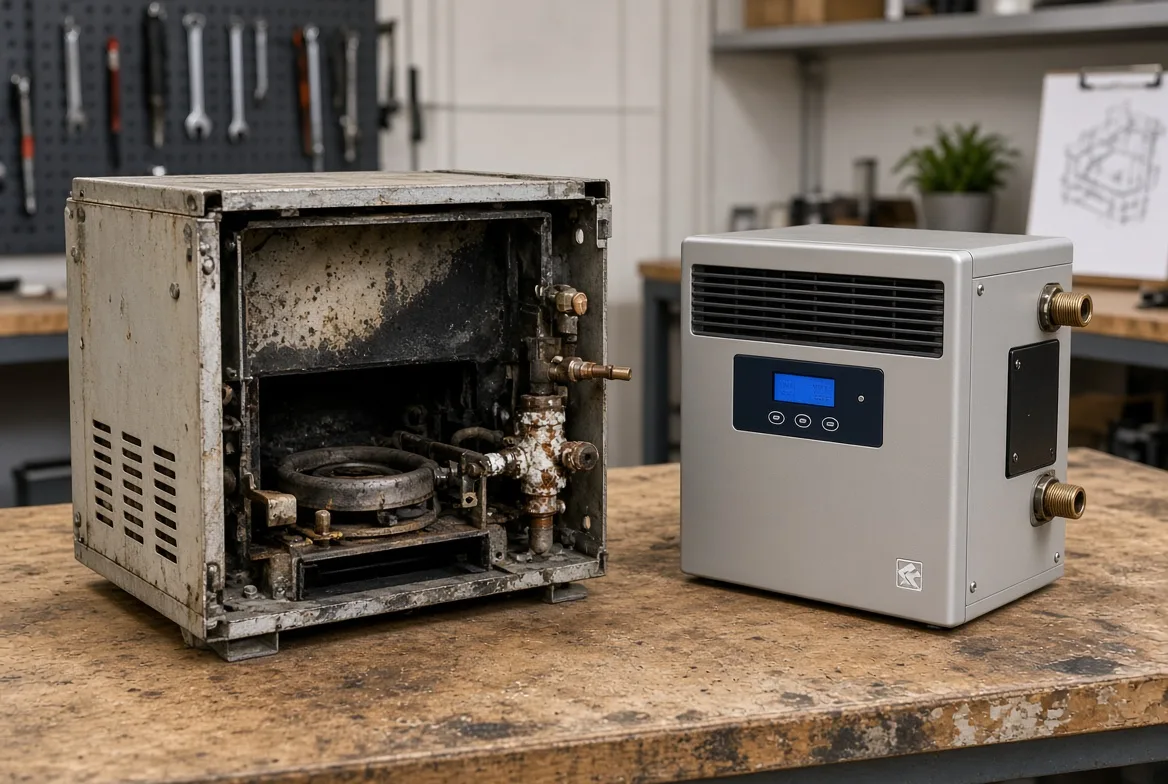
Yes, an Atwood to Suburban water heater replacement can work, but it moves the problem to the opening, the door, the wiring and the maintenance schedule. A true direct-fit option avoids those differences, so decide from the teardown rather than from a spec sheet.
On a five-year-old GC10A-4E, the parts buyers ask about most are the sacrificial anode, tank corrosion, ignition-module faults, burner condition and service access. The Atwood/Dometic aluminum-clad tank has no anode rod and can corrode at weld and fitting interfaces; the Suburban steel tank depends on the anode for protection.
🔬 Sensory check: Corrosion on aluminum reads as a chalky white bloom with a metallic smell. Soot shows as a dry black film with an acrid burnt odor. A tired ignition module smells of hot varnish and shows hairline cracks. A depleted anode crumbles to white powder and smells of sulfur.
Gulfstone matches tank material to the water chemistry in the destination market, adds corrosion control at welds and fittings, and seals the ignition system against moisture. Those checks repeat at the tank weld, the gas train and the ignition test, and the results sit in the certification file for the SKU.
A cross-brand swap earns its place for fleets only when dimensions, wiring and the long-term maintenance model align. Whichever brand wins the quote, the unit itself should carry a listing mark from a recognized listing agency.
Measure cutout width, door swing, flue position, wire gauge and anode clearance. If the door hits the frame or the flue misses the collar, stop and re-evaluate.
⚠️ Experience warning: Approve a cross-brand swap only when the cutout, door, wiring and maintenance model all match. Skip one of those and the failure simply moves somewhere else.
Q&A: Gulfstone Lead Technical Specialist Warmy Huang
Warmy Huang signs off the QC checklist, pressure-test metrics and rejection thresholds for every retrofit job. Her limits: 40 psi held for 15 minutes on water, 8 inches of water column on gas, and automatic rejection on any gauge drop, bubble growth or failed light-off.
For fleet-wide retrofit programme design, custom QC framework work or an on-site technical audit, connect with Warmy Huang on LinkedIn. She leads Atwood-series replacement validation and field quality oversight for Gulfstone.
Step 4: Remove, Dry-Fit, Reconnect, and Commission the Swap
Replacing an Atwood water heater with a new Dometic 10-gallon unit starts here, and only after the dimensional package has passed. Suburban and tankless paths may still need framing strips or new wiring, so confirm your branch before the old unit comes out.
Shut off propane at the tank valve, disconnect the 12V negative cable and trip the 120V breaker if the model has electric elements. Open the drain, empty the tank, then disconnect the water lines, gas line and harness. Label every wire and photograph the gas manifold position, wire routing and any field modifications.
During a Tuesday teardown of a GC10A-4E, the old butyl sealant had hardened into a brittle crust. It took 15 minutes of careful prying to break the flange loose without bending the frame.
Dry-fit the new chassis before sealing. Check cutout depth, flange seating, door clearance and backside service access. A direct-fit tank-style unit keeps the opening with minimal adaptation, while a smaller Suburban or tankless unit may need framing strips or a reduced opening.
🔬 Sensory check: Old butyl breaks loose with the drag of tape under the flange. The new chassis should slide in with mild resistance, never force. Correct squeeze-out is a thin, continuous ribbon all the way around the flange.
Reconnect only to the approved schematic for that model:
- Seat the flange. Apply butyl tape, set the unit square, drive the screws in opposite corners.
- Reconnect the water lines. Use new flare cones where the old ones are scored.
- Reconnect the gas line. Follow the approved schematic and check that the run carries no strain.
- Reconnect the 12V harness. Match the labeled wires and confirm polarity.
- Add 120V where the model needs it. An electric mode needs a real circuit, not an assumption.
Before final torque and sealant, confirm the unit sits square, the door closes without rubbing, and every utility run is strain free.
⚠️ Experience warning: On one fleet job a technician skipped the dry-fit. The chassis sat 1/8 inch high, the door rubbed the frame, and re-shimming the flange cost four hours.
Commissioning tests, run against the leak-test practice in NFPA 58 for the gas side:
- Water leak test: fill, pressurize to 40 psi, hold 15 minutes, and watch every fitting and the drain plug.
- Gas leak test: set the manometer, soap-test the regulator and burner inlet joints, and hold 5 minutes at 8 inches of water column.
- Ignition: cycle the thermostat and count light-off attempts. Two is normal. Three means air in the line.
- Flame: steady blue flame, no lifting. Yellow tips point to a dirty orifice.
- Electric element: on 120V models, clamp the element lead and compare the draw against spec.
🔬 Sensory check: Stable ignition makes a soft muffled whump, then settles into a low steady roar. The outlet line warms slowly and evenly within about 12 minutes, not in a sudden spike.
Build a reusable job packet: final dimensions, door-kit decision, wiring notes, gas notes, the approved SKU and a labeled photo set. Reuse it unchanged on the next coach, and file the pressure-test records with it. Fleets running the same swap across many coaches can standardise the packet against the RV OEM programme.
🧠 Tankless rule of thumb: if gas capacity, opening size or wiring changes break the project economics, keep tankless as the alternative path. Do not make it the default.
Send the completed fitment packet and your approval questions through the contact channel, so engineering and purchasing work from one evidence set.
⚠️ Experience warning: One owner skipped the gas hold test and signed off on a joint that passed a soap test but failed a manometer check overnight. It surfaced on the second visit.
Troubleshooting a Failed Atwood Replacement
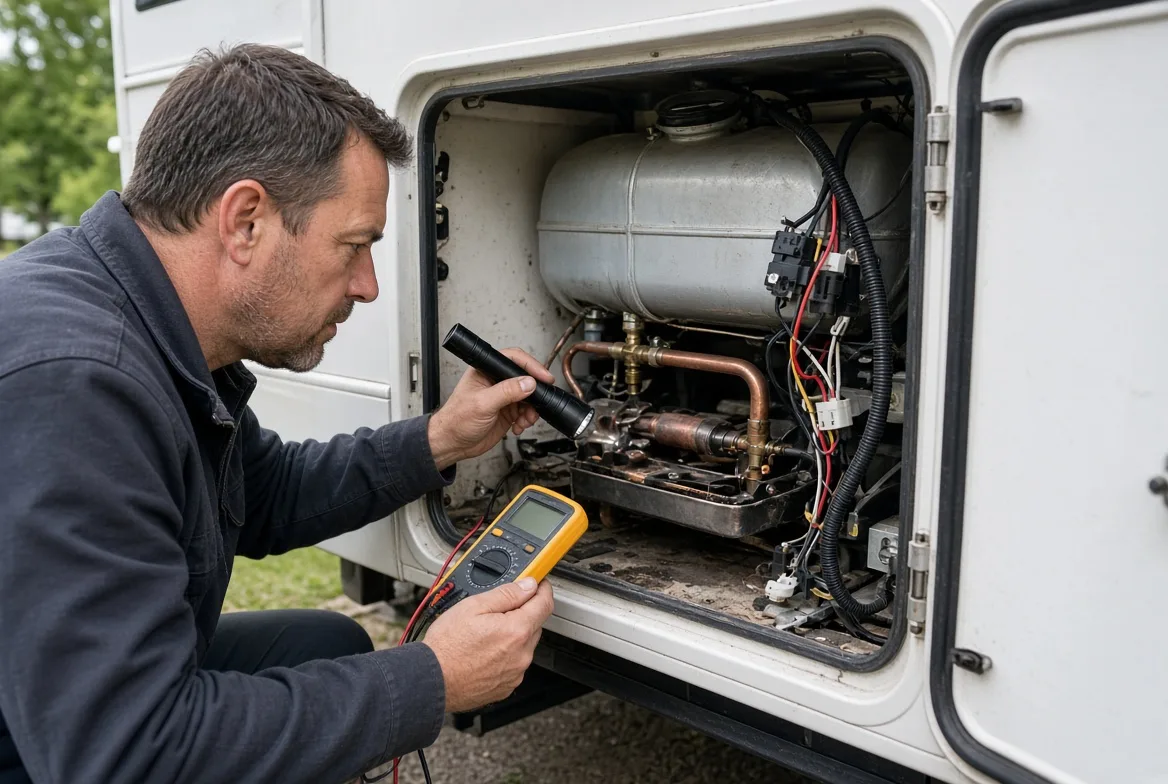
To answer how to replace an Atwood RV water heater heating element, lock out propane, 12V and 120V power first. That fix applies only to electric-capable units, and it will not clear a burner, door-fit, gas-volume or control-fuse fault. Never bypass the thermal fuse.
1. The unit will not ignite after installation
I usually find a blocked burner tube or a blown 2-amp fuse, not a defective heater. Inspect the burner tube for webs and debris, verify the 2-amp fuse, and check the thermal fuse. If it lights on the third attempt, that usually means air in the gas line.
2. The body fits but the exterior door does not seal
Flange depth or latch geometry is usually wrong. Go back to the flange dimensions, latch points and door-kit selection. More sealant or forced trim will not fix a 3/16 inch offset; that one cost a full day of rework.
3. A tankless conversion starves for gas
Check BTU demand against the gas-line size and regulator capacity before blaming the heater. Verify gas volume at the regulator and burner inlet. Undersized lines starve the unit, and the fix belongs on the supply side.
4. Electric mode was promised but does not work
Confirm whether the replacement is gas-only, DSI gas/electric, or needs a dedicated 120V circuit like an SW6DE-style build. Test for 120V at the element. If the coach lacks the circuit, that is a missing system rather than a heater fault.
🛡️ Prevention: Skipped fitment and systems checks cause most callbacks. The heater is rarely the defective part, so verify the fit and every system before you condemn the new unit.
Conclusion: One Retrofit, One Documented Standard
Atwood GC10A-4E replacement options end in three valid states: a direct-fit 10-gallon replacement, a cross-brand tank swap with documented modifications, or a tankless conversion after a gas and electrical study. Fit, door compatibility, gas capacity and total rework cost decide between them; price does not.
You now have a process that purchasing and service can both sign, built from teardown records, CAD overlays and live pressure tests. Finalise the fitment packet, then get purchasing, engineering and service onto the same evidence before the order goes out. The documentation also shortens the after-sales claim path.
Send the measured fit sheet or the model label to Gulfstone’s contact and RFQ page for a replacement recommendation and a bulk quote.
Transparency note: Gulfstone builds water heaters under client brands and sells its own replacement and OEM units, which is the stake this guide declares. Specs follow the manufacturer installation literature and the unit rating plate, and I receive no manufacturer kickbacks for these findings.
Frequently Asked Questions About Atwood 10-Gallon Replacement
1. What is the direct replacement for the 10 gal Atwood water heater?
The direct replacement is the unit whose chassis, flange and door all match the opening you measured, confirmed against the original data label. It qualifies as drop-in only after all three line up. Start at the label, not the sales listing, and measure the cutout and door before ordering.
2. What are the rough opening dimensions for an Atwood GC10A?
The GC10A rough opening is 16-3/8 inches wide by 16-3/8 inches high, with 20-1/2 inches of depth behind the flange, and that figure is a starting point only. Match every dimension to the exact model label and spec sheet on the unit in front of you, because the on-unit specs always outrank generic internet dimensions.
3. Can I replace a Suburban or Atwood 10 gallon heater with a Dometic?
Yes, when the cutout, door, gas input, 12V logic and any 120V requirement all pass live verification. A dimensional pass alone is not approval. Confirm your path first, because Suburban and tankless options may still require framing strips or new wiring.
4. Do I need a new exterior access door kit?
Only if the hinge points, latch strike or flange depth differ from the new chassis. Reuse the door when all three match, and order a new door or trim kit when any one differs. A mismatched door leaves an uneven reveal line and a corner gap, and more sealant will not fix the seal.
5. Why won’t my Atwood water heater ignite?
A blocked burner tube or a blown 2-amp fuse is the usual cause, not a bad heater. Inspect the burner tube for webs or debris, verify the 2-amp fuse, and check the thermal fuse. Never bypass the thermal fuse. If it lights on the third attempt, air in the gas line is the likely reason.
6. Will a tankless RV water heater fit an Atwood opening?
Possibly, but a tankless unit will likely need framing strips or a reduced opening to fit an Atwood cutout. Fit is only half the question: check BTU demand against the gas-line size and regulator capacity, plus the wiring. If those changes break the project economics, keep tankless as the alternative path.

Forward
Co-founder & General Manager, GulfstoneGas appliance manufacturing and certification
Most of what decides a gas appliance is settled before anything is built — on the drawing, at the cut-out, in the tolerance someone chose for the gas path. I have spent my working life on the manufacturing side of that decision, and this is where I write down what it has taught me.
Nothing here is written from a sales desk. Every note comes off the floor: a batch held until a reason was found, a fitting that failed in transit, an approval path that only made sense once the destination market was fixed. If you read these first, the opening conversation starts at the standard rather than at the beginning.
- Gas water heater engineering
- Design for manufacturing
- Certification path selection
- Private-label tooling
- Off-grid and outdoor water heating
- Top 8 Outdoor Portable Gas Water Heater Factories in China for B2B BuyersNov 4, 2026
- Custom RV Appliance Industrial Design: An OEM Brief to a Validated PrototypeNov 3, 2026
- How to Build Custom Thermostat UI Design Software for OEM Embedded PanelsNov 3, 2026
- Top 8 RV Water Heater OEM Suppliers Canada: Vetted for Volume BuyersNov 3, 2026
- Top 10 Portable Propane Water Heater Manufacturers USA: A No-Hype Buyer ShortlistNov 2, 2026
- PPWR Compliance Checklist for EU Water Heater Packaging: The 10 Documents Before the Container LoadsNov 2, 2026
Fifteen years in appliance manufacturing — home appliances, RV refrigeration, then gas water heating — from the drawing to the shipping container.
Leads Gulfstone's design-for-manufacturing reviews and the certification path selected for each destination market.
Works directly with OEM and private-label buyers on tooling, tolerances and the approval file.