Table of contents
- Key Takeaways
- Prerequisites: Records and Safety Before Any Tools
- Suburban SW6D Replacement Paths: 5 Steps From Measurement to Signoff
- Step 1: Build the Replacement Decision Matrix
- Step 2: Remove the Old Unit and Document the Teardown
- Step 3: Map Dimensions and Utilities Before You Buy
- Step 4: Install the Replacement and Close Out the Opening
- Step 5: Commission the Gas Side, Then the Electric Mode
- Troubleshooting a Failed Suburban SW6D Replacement
- Conclusion: Turn One Swap Into a Repeatable Program
- Frequently Asked Questions About Suburban SW6D Replacement
Key Takeaways
- A Suburban SW6D replacement works best as a measured like-for-like swap, not an automatic upgrade to a dual-fuel or tankless unit.
- Measure the rough opening, flange overlap, depth, and service clearance before buying anything.
- Treat SW6DE dual-fuel and tankless models as separate pathways that add 120V or adapter work.
- Dry-fit and photograph the flange before sealing; soft framing cannot hold screw torque.
- Commission in order: water purge, 60-second gas pressure test, ignition check, then the electric mode test.
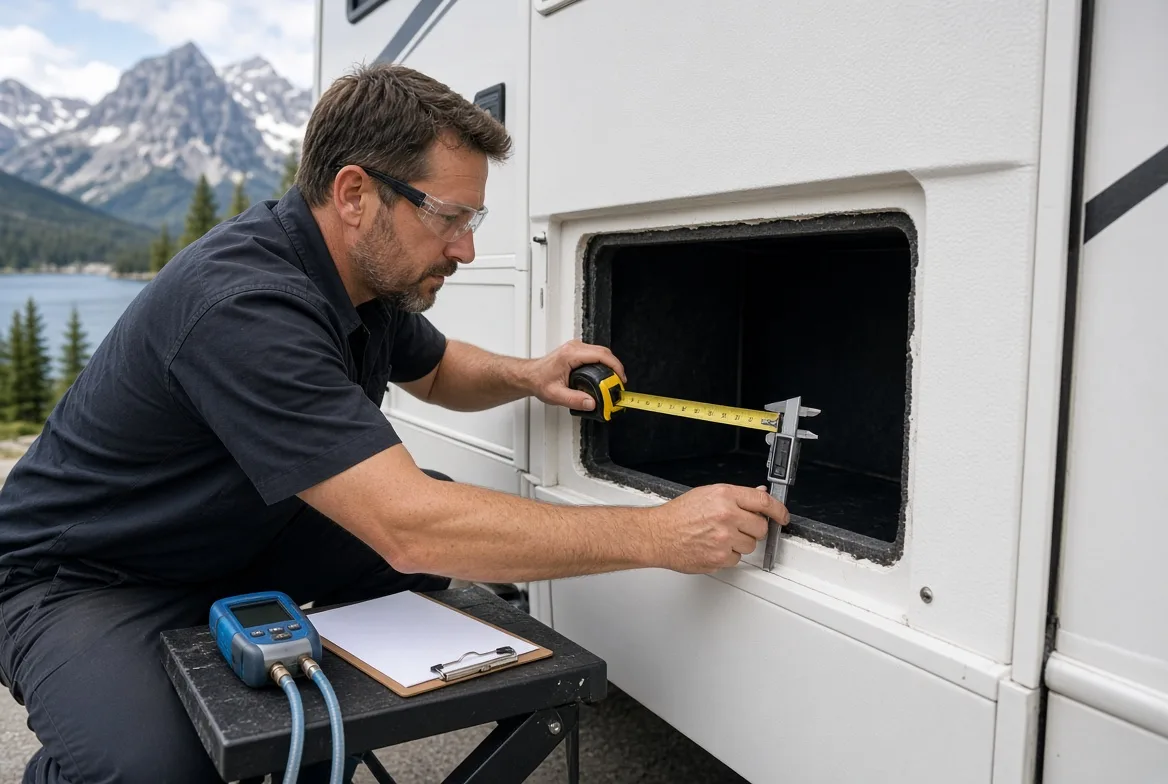
Five steps keep a Suburban SW6D replacement from turning into a return: measure first, tear down second, map utilities third, install fourth, and commission last. The work draws on teardown notes, fitment overlays, install workflow reviews, and technician input.
A same-footprint field swap can be completed in half a day. Adding 120V wiring, adapter frames, or fleet documentation requirements can extend the job to a full day. The purpose of the sequence is to keep every decision in the order that failure tests first.
Prerequisites: Records and Safety Before Any Tools
The nominal Suburban SW6D rough cutout is 12-3/4 inches wide by 12-3/4 inches high, with 16-1/2 inches of depth behind the flange. Treat those figures as a baseline only, because drop-in units can still stick on a 1/4-inch framing lip that no spec sheet lists.
Measure the actual opening, flange overlap, depth, and service clearance on each coach against the cutout measurement guide. The field list below was vetted across three coach teardowns and current Suburban service literature.
Tools and records: 25 ft tape measure, caliper, multimeter, manometer or approved leak-test method, 3/8-inch and 1/2-inch flare wrenches, #2 square bits, butyl tape, non-sag sealant, labels, camera, laptop spec-pack template.
- Baseline checks: rough opening dimensions, flange overlap, cabinet depth, door swing, and service clearance, recorded rather than estimated.
- Pre-pull parts: heater SKU, door and switch status, gas valve orientation, wiring pigtail style, BTU rating, adapter frame or trim ring.
- Official sources: Suburban installation and service literature, the rating plate, and the certification packet.
⚠️ Safety first: Shut off LP gas at the supply tank. Disconnect the 12V battery. Isolate shore power and generator circuits. Confirm the tank is cool and depressurized, and follow the Suburban installation manual plus your shop lockout/tagout procedure.
Capture an evidence package before touching a fitting: pre-removal photos, a dimensioned rough-opening sketch, a CAD overlay placeholder, and lead-technician interview questions. Budget half a day for one qualified RV tech plus a helper on a like-for-like swap, or a full day once 120V work, adapter frames, or fleet sign-off are added.
Suburban SW6D Replacement Paths: 5 Steps From Measurement to Signoff
The five steps below run from the replacement decision matrix through teardown, utility mapping, install, and commissioning, so the coach leaves the bay with a documented unit instead of an open question.
Step 1: Build the Replacement Decision Matrix
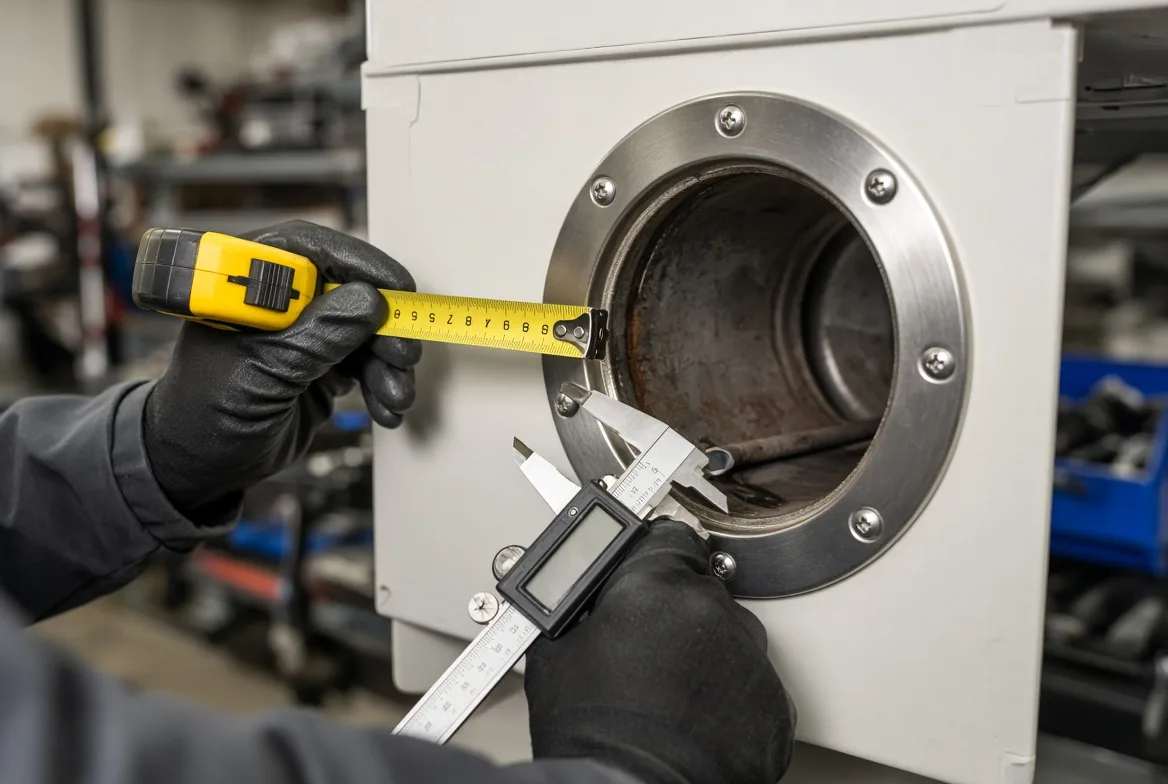
For Suburban SW6D direct replacement options from OEM aftermarket distributors, start with this three-branch matrix. Keep a like-for-like gas/DSI replacement as the default only when footprint and utilities align. Treat SW6DE-style dual-fuel and tankless conversions as separate branches, not automatic upgrades.
Run a sensory check before committing. Match the flange shape by hand. Confirm the harness reaches without strain. Verify gas and water port alignment against the old unit. A 1/4-inch flange-height mismatch produced a persistent door gasket leak on the bench.
- Like-for-like gas/DSI. Match the exact opening, then confirm 12V service, winterization burden, and parts support. Distributor margin is lowest, and accessory complexity and claims risk drop to near zero.
- SW6DE-style same-cutout dual-fuel. Adds 120V service, so stock changes too: door, switch gear, harness variations, documentation, and replacement-part continuity.
- Tankless conversion with adapter frame. Adds a high-amp circuit and an adapter door. Rule it out when cold-climate performance, service access, or winterizing labor will create downstream claims.
Before ordering, list the exterior door, switch gear, and harness you will need on top of the heater itself. Pick one replacement path, and put a preliminary bill of materials behind it.
⚠️ Experience warning: Tankless is not a default upgrade. One client’s tankless swap in Minnesota produced three warranty claims in a single winter because the unit lacked adequate freeze protection and the owner skipped winterization.
Step 2: Remove the Old Unit and Document the Teardown
Isolation comes first. Shut off LP gas, water, and both power sources. Relieve pressure at a hot tap. Drain the tank before loosening any fitting; skipping the drain once dumped six gallons of water into a cabinet.
- Disconnect the hot and cold water lines. Cap them to prevent debris entry.
- Disconnect the gas line at the flare fitting.
- Label the ignition and ground wires.
- Remove the mounting screws.
- Slide the unit out with a helper.
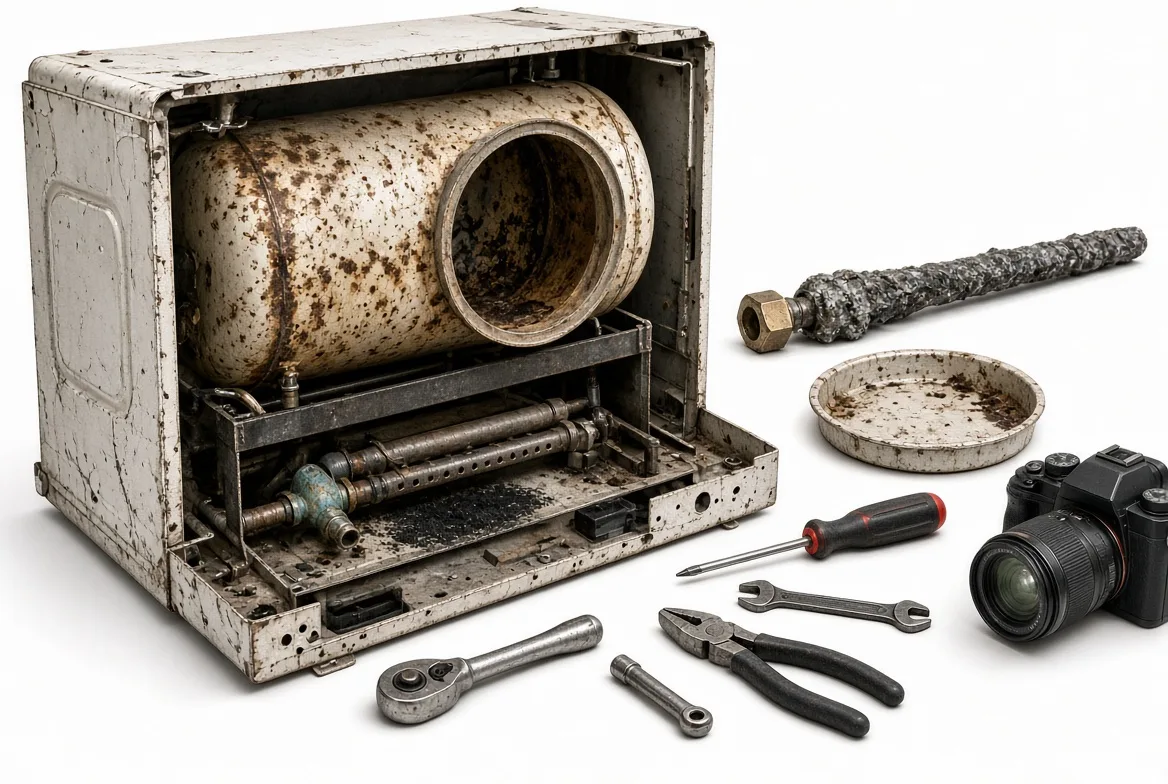
Feel the steel tank’s weight shift as it clears the frame, and note the tacky resistance of old sealant. Record visible cues in words: rust bloom, soot trails, a cracked seal, loose connectors. Describe each one for screen readers rather than relying on a highlighted circle.
A bench teardown of a five-year-old SW6D is worth running before the new unit arrives. The anode photographed at roughly 70% depletion and the steel showed pitting near the weld seam. The burner tube held soot and insect debris, and the flange seal had flattened to a hard lip.
Log only what can be photographed and measured. Any OEM engineering improvement earns a place in the report only once it ties to a photographed failure point and is validated through technician interviews or QC paperwork.
🛡 Reuse note: Catalog fittings, door hardware, and harness notes. Tag what carries over, mark what does not, and keep the fitment data on file in case the coach is rebuilt to the RV OEM programme. A documented teardown also produces the failure list that justifies the replacement.
🔬 How it was tested: One five-year-old SW6D pulled from a coastal rig, torn down on the bench with calipers and a camera. The anode and flange seal both looked fine from outside, which is why the record starts with photos, not a cleaning rag.
Step 3: Map Dimensions and Utilities Before You Buy
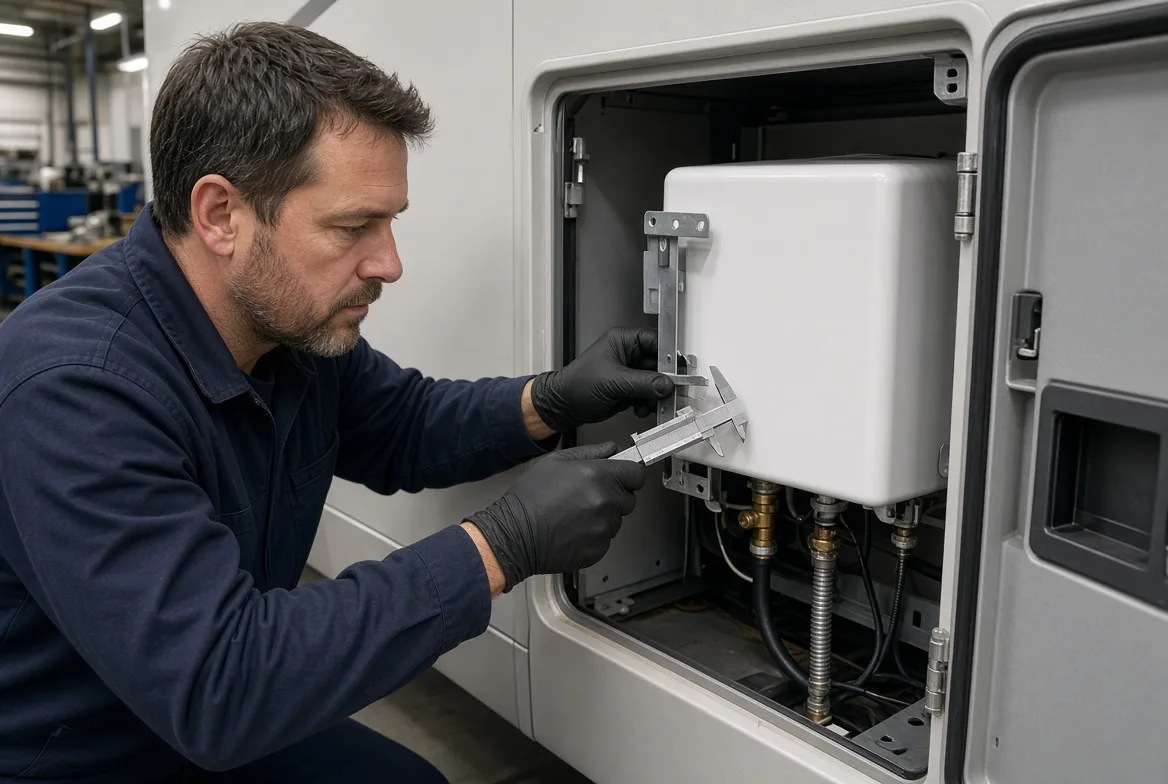
For Suburban SW6D versus SW6DE dimensions and wiring diagrams, start with opening size, flange coverage, depth, port locations, and service-clearance notes. Matching cutout dimensions alone does not prove compatibility; the utility map decides whether the replacement is truly drop-in.
Measure the existing opening and sketch it full scale. Log flange overlap on all four sides, cabinet depth behind the flange, gas and water port centers for both units, door swing, and service clearance. On one coach the SW6D flange cleared the frame, but the SW6DE junction box hit the cabinet lip by 3/8 inch.
Keep the SW6D path focused on 12V DSI, and treat the SW6DE-style path as a separate installation that adds a 120V element, switch, breaker, and safe feed. Production teams running the same swap across many coaches can standardise the opening against the manufacturing line instead of remeasuring each time.
Build a CAD overlay or fitted sketch of the coach opening against each candidate unit; catalog numbers do not substitute for the coach. Then inspect the gas and wiring: flares, regulator health, 12V polarity, grounds, and fuses. For SW6DE, add a safe 120V feed, switch, and breaker.
Pull the harness for slack, rock each terminal for fit, confirm the breaker panel label, and watch the meter settle during mapping. Record the results in a structured PDF spec sheet covering dimensions, wiring differences, BTU notes, and included versus sold-separately parts.
✅ Verification: You can sign off on one configuration with a documented parts list and no unresolved utility mismatches. SW6DE adds 120V mapping work, while tankless changes venting, power, and clearance requirements.
🧠 Author’s verdict: Map utilities before ordering. A cutout match without a 120V plan is not a drop-in.
Step 4: Install the Replacement and Close Out the Opening
A same-footprint tank replacement follows the primary install path. A Suburban SW6D tankless conversion with an adapter door needs its own adapter or trim strategy. Dry-fit every branch before sealing.
- Prep the opening. Scrape old sealant from the flange contact area. Clean the wall until it feels dry and grit-free. Probe for soft wood or delaminated panel, and replace soft material before sealing.
- Dry-fit the new tank or conversion frame. Mark screw holes. Confirm the flange sits flat and the door swings without rubbing.
- Run the primary direct swap. Apply butyl tape to the flange. Seat the unit squarely. Drive flange screws evenly, working opposite corners. Reconnect the water lines, and reconnect gas with a new flare fitting if the old cone is scored. Reconnect the 12V control wiring, then reinstall the exterior door or approved access panel.
- Handle the SW6DE branch. Route the 120V feed in separate conduit or a protected run. Add the switch and breaker per local code, and keep 120V work isolated from the 12V and gas connections.
- Handle the tankless branch. Document the adapter door or trim-kit logic, call out service clearance and the extra winterization steps, and never describe it as a like-for-like swap.
Butyl compresses with steady resistance, screws bite without spinning, the flange seats flush, and the door closes with a firm, even seal. Verify the flange is flat, no port is cross-threaded, and the unit does not rock.
⚠️ Safety first: Soft framing cannot hold flange torque. Rebuild the opening before you seal.
🧠 Author’s take: Dry-fit and photograph the flange before applying tape. On the last swap, one screw spun in soft framing, so a backing block went in before final torque and the door lined up cleanly.
Step 5: Commission the Gas Side, Then the Electric Mode
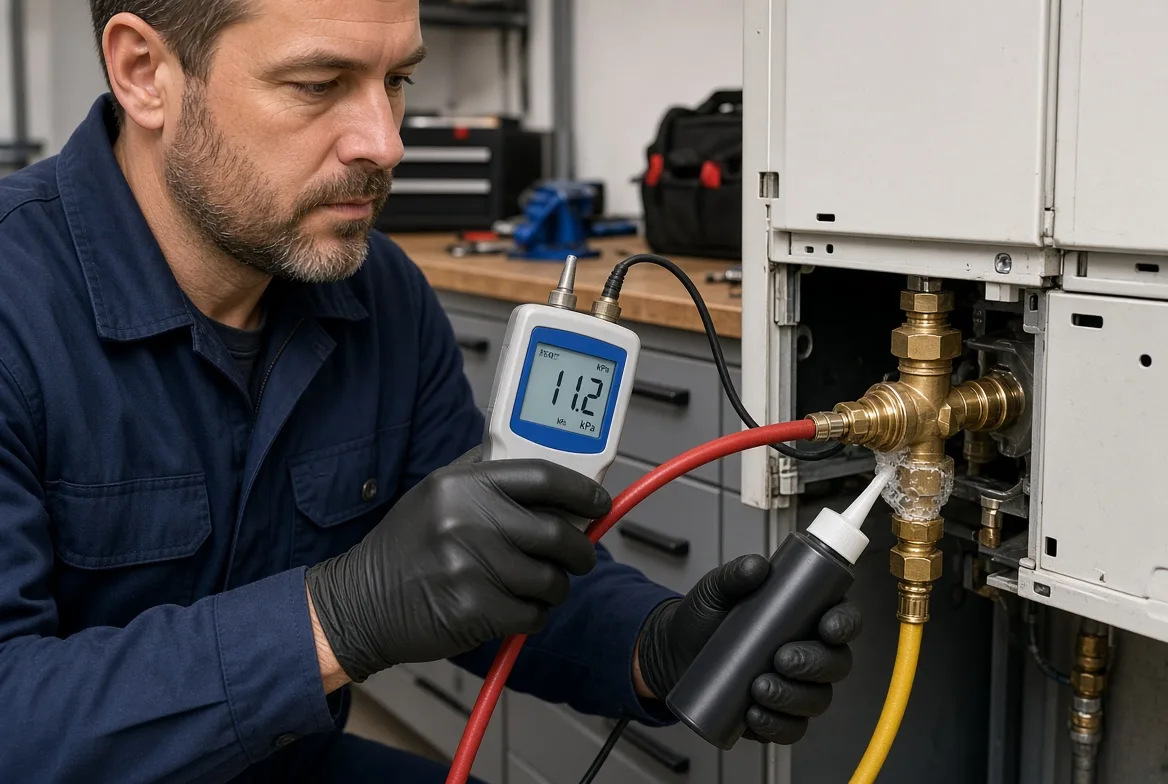
A Suburban SW6DE replacement is complete only when startup proves out. Commissioning splits by branch: verify gas ignition on every unit, and test electric mode separately on dual-fuel models.
- Fill and purge water first. Open a hot tap and fill until water runs steady with no sputter, then close the tap. Never fire a dry tank; a dip tube melted in 90 seconds from dry firing in one shop incident.
- Pressure-test gas next. Hold test pressure for 60 seconds. Brush every joint with leak solution and watch for gauge drop.
- Test ignition and steady burn. The DSI pattern is three rapid clicks, a soft whoosh, and a steady flame. Repeated clicks mean air in the line or a wide spark gap.
- Test electric mode last on SW6DE units after a full tank. The outlet line should warm within 20 minutes. Cold water after 30 minutes means a tripped element or a bad breaker.
⚡ Speed check: Startup took 55 minutes with the 30-minute electric soak. Plan for an hour, not the manual’s 20 minutes.
🛡 Handoff pack: photos, annotated overlay, PDF spec sheet, accessory BOM, certification checklist, acceptance criteria, parts-support notes. File the quality control documentation with it, and the approval pack is ready for distributor or fleet reuse.
Q&A: Gulfstone Group Lead Technician Feng Jianmin
Feng Jianmin put the bench limits plainly. Flange squareness is held at ±0.5 mm, with every 20th unit checked on CMM. Pressure testing runs at 1.5x working pressure for 60 seconds with zero drop allowed, and one bubble at operating pressure fails the unit. Each batch also mounts on a legacy SW6D cutout fixture before packing.
Troubleshooting a Failed Suburban SW6D Replacement
A no-ignite call after installation starts with the checks below, in order, before anyone condemns the heater or orders another replacement.
1. Clicks But Will Not Ignite
Usually caused by air in the line, low propane flow, or a blocked burner tube, not a dead control board. Spider nests cause more of these calls than failed modules. Clean the burner tube, confirm propane flow, check the reset buttons and DSI fault light, then test the module board.
🛡 Prevention: Cap the burner tube and test propane flow before each trip. No-ignite faults usually clear with cleaning, a reset, or a board swap, not a full heater swap.
2. Replacement Does Not Sit Right in the Opening
Usually a missing sold-separately door, adapter frame, or a wrong wall-depth assumption, and a 1/4-inch flange mismatch causes gasket leaks. Remeasure the rough opening, flange overlap, wall depth, and door swing, then dry-fit before sealing. Never force the flange flat.
3. Upgraded Unit Underperforms or Confuses the Service Team
Usually a mixed diagnosis: SW6DE electric faults get blamed on the gas side, and tankless temperature-rise limits get blamed on install defects. Check the breaker, element, and 120V feed first, then inlet temperature, flow rate, and BTU capacity. Log the branch on the work order.
🧠 Expert’s verdict: Ignition checks come first. They save an unnecessary order and a bay day.
Our RV Technical Services Lead, Trace Leong, has built a field-validated library of troubleshooting frameworks, fleet maintenance SOPs, and custom replacement program structures from service data across North American and Australian fleets. Connect with Trace Leong on LinkedIn for program design and technical support.
Conclusion: Turn One Swap Into a Repeatable Program
Replacing a water heater with a used unit can work for a one-off repair. Procurement teams, distributors, and fleet operators usually need traceability, repeatable fitment, and parts support that only new, documented units provide.
Your path is now measured and documented. Archive the overlay, file the PDF spec sheet with the unit, standardize the accessory bundle, and decide whether to stock a direct-fit tank unit, a dual-fuel upgrade, or a separate tankless program. The teardown and commissioning runs proved the sequence matters more than the catalog claim.
Do not build a commercial standard around salvage availability when documentation, parts support, and consistency decide the total cost. A planned programme also makes the after-sales claim path shorter, because the unit data is already on file.
When you compare distributors, keep the procurement supply chain guide open beside the quotes.
For replacement programmes or bulk sourcing support, start with the contact and RFQ page.
Transparency note: Gulfstone builds water heaters under client brands and has no stake in the distributor you choose. Specs quoted here follow the manufacturer installation literature and the unit rating plate; final fitment decisions rest with the technician on the coach. I receive no manufacturer kickbacks for these findings.
Frequently Asked Questions About Suburban SW6D Replacement
1. Is the Suburban SW6DE a direct replacement for the SW6D?
No. The SW6DE is a same-cutout dual-fuel branch, not a pure like-for-like swap. It adds a 120V electric element, switch, breaker, and safe feed. A cutout match without a 120V plan is not a drop-in, so map the 120V route before ordering.
2. What are the exact cutout dimensions for a Suburban SW6D?
The nominal cutout is 12-3/4 inches wide by 12-3/4 inches high, with 16-1/2 inches of depth behind the flange. Treat those as baseline values and measure the actual RV opening, flange overlap, depth, and service clearance before buying.
3. Does the SW6D need 12V power?
Yes. Its ignition system is 12V DSI, so the like-for-like replacement requires 12V service only. Confirm polarity, ground quality, and fuse protection during the wiring inspection. The SW6DE branch adds 120V, but the SW6D itself does not.
4. Can I convert a 6-gallon Suburban opening to tankless?
Only with an adapter frame or door plus a trim strategy, and that is not a like-for-like SW6D replacement. Tankless adds a high-amp circuit and changes venting, power, and clearance requirements. Rule it out when cold-climate performance, service access, or winterizing labor will create downstream claims.
5. What is the most common failure on an SW6D that will not ignite?
Air in the line, low propane flow, or a blocked burner tube, not a dead control board. Spider nests cause more no-ignite calls than failed modules. Inspect and clean the burner tube, confirm propane flow, check the reset buttons and DSI fault light, then test the module board.

Forward
Co-founder & General Manager, GulfstoneGas appliance manufacturing and certification
Most of what decides a gas appliance is settled before anything is built — on the drawing, at the cut-out, in the tolerance someone chose for the gas path. I have spent my working life on the manufacturing side of that decision, and this is where I write down what it has taught me.
Nothing here is written from a sales desk. Every note comes off the floor: a batch held until a reason was found, a fitting that failed in transit, an approval path that only made sense once the destination market was fixed. If you read these first, the opening conversation starts at the standard rather than at the beginning.
- Gas water heater engineering
- Design for manufacturing
- Certification path selection
- Private-label tooling
- Off-grid and outdoor water heating
- Top 8 Outdoor Portable Gas Water Heater Factories in China for B2B BuyersNov 4, 2026
- Custom RV Appliance Industrial Design: An OEM Brief to a Validated PrototypeNov 3, 2026
- How to Build Custom Thermostat UI Design Software for OEM Embedded PanelsNov 3, 2026
- Top 8 RV Water Heater OEM Suppliers Canada: Vetted for Volume BuyersNov 3, 2026
- Top 10 Portable Propane Water Heater Manufacturers USA: A No-Hype Buyer ShortlistNov 2, 2026
- PPWR Compliance Checklist for EU Water Heater Packaging: The 10 Documents Before the Container LoadsNov 2, 2026
Fifteen years in appliance manufacturing — home appliances, RV refrigeration, then gas water heating — from the drawing to the shipping container.
Leads Gulfstone's design-for-manufacturing reviews and the certification path selected for each destination market.
Works directly with OEM and private-label buyers on tooling, tolerances and the approval file.