Table of contents
- Key Takeaways
- Prerequisites: Inputs, Standards and Safety Limits
- Custom RV Appliance Industrial Design: 5 Steps From Brief to Validated Prototype
- Step 1: Define the Appliance and Lock Every Constraint
- Step 2: Fix the System Architecture Before Any CAD
- Step 3: Package the Floor to Ceiling Appliance Cabinet in Sections
- Step 4: Build and Validate the First Tankless Prototype
- Step 5: Build the Validation Matrix and Prove Serviceability
- Troubleshooting Release-Blocking Failures
- Conclusion: Serviceability and Weight Come Before Aesthetics
- Frequently Asked Questions About Custom RV Appliance Industrial Design
- 1. Is tankless worth it for RV life?
- 2. Do you need a pressure relief valve on RV tankless water heaters?
- 3. Can a floor to ceiling appliance cabinet fit a toilet, heater, fridge and microwave?
- 4. How well do inline descaling ports work on compact tankless heaters?
- 5. How long does a custom RV appliance project take to prototype?
A note on the data. I work on Gulfstone’s engineering side in Foshan, and this guide reflects our internal GS-T420 compact tankless development program. Every test figure below comes from our own bench logs, including the early failures, and we take no commission from third-party component vendors named here.
Key Takeaways
- Custom RV appliance industrial design is an OEM specification problem first: venting, shock, compliance and service risk decide the concept, not the finish.
- Lock the envelope (420 x 310 x 260 mm) and a 20-minute service-removal target before any CAD.
- The first bracket cracked at 6.2 G; the revised two-plane mount passed an 8.0 G sweep.
- Thermal efficiency rose from 80.9% to 82.6% and altitude drift tightened from ±7.8% to ±3.2% at 2,400 m.
- Unserviceable, poorly packaged builds are the costly failures: one panel set lost nine days.
Custom RV appliance industrial design is an OEM problem, not a decor upgrade or a one-off DIY install. I followed a compact tankless water-heater program on Gulfstone’s factory floor, from concept brief to validated prototype.
The unit had to fit a tight bay, survive road vibration and combine gas heat with 12V control logic. It was built for OEM camper-van upfitters working on Mercedes-Benz Sprinter, Ford Transit and RAM ProMaster chassis, not for aftermarket retail.
This guide is written for VP Product, R&D and sourcing teams making platform-level decisions. Aesthetics alone solve nothing: venting, shock, compliance and field-service risk decide whether a concept ships.
Prerequisites: Inputs, Standards and Safety Limits
Code review is one prerequisite, not the whole brief. No concept freezes until packaging data, power budgets, service access, supplier inputs and test criteria clear together.
Verify four core standards before any 3D modelling. NFPA 1192 governs sealed combustion and exhaust clearance on RVs, so keep the termination clear of any openable window.
ANSI Z21.10.3 with CSA 4.3 governs gas water-heater safety under high wind and low voltage. UL 307B covers gas-fired heating appliances for manufactured homes and RVs. Test against the published code, not a web summary.
Collect these inputs before Step 1:
- Target vehicle platform and appliance use case
- Dimensional envelope and payload limit
- Service-access zones and fresh/gray/waste implications
- Altitude target and expected duty cycle
- Release criteria: thermal efficiency band, BTU stability at altitude, vibration-failure threshold and service-removal time
Plan two to three weeks of alignment before concept freeze with the product manager, industrial designer, mechanical engineer, electrical engineer, compliance lead and sourcing lead. The RV OEM solutions page sets the platform context.
🧯 Safety Note: Isolate propane and 12V power during prototype work. Never vent under the unit, and preserve pressure-relief routing: a 150 PSI / 99°C T&P valve must discharge straight down through the floor. Do not substitute residential parts where RV-listed parts are required.
Custom RV Appliance Industrial Design: 5 Steps From Brief to Validated Prototype
The five steps below take a concept brief through a constraint matrix, system architecture, cabinet packaging, a live-fire prototype and a four-gate validation matrix.
Step 1: Define the Appliance and Lock Every Constraint
The program starts with a product definition matrix, not an off-the-shelf catalog pick. The problem was on-demand hot water in a space-constrained camper van, for OEM upfitters rather than aftermarket retail.
A standard retail unit failed on chassis-bay fit, vibration durability, control integration and certification. It was too deep for the Sprinter rear wheel well and lacked RV-C diagnostics. The team forced numbers onto the wall:
- Envelope: 420 x 310 x 260 mm
- Dry mass: 9.8 kg maximum
- Max amp draw: 8 A at 12 V DC
- Fuel source: propane, sealed combustion routing
- Noise target: 55 dBA or lower at 1 m
- Panel temperature: 65°C maximum at the service face
- Service-removal time: 20 minutes or less
- Warranty-risk assumption: 2-year field coverage, 1.5% return allowance
Warranty claims from a 2024 camper-van fleet drove the 20-minute service target: field techs had been spending two hours just reaching old igniters.
At kickoff, the industrial designer rejected the first control-board layout on sight, because its housing blocked wrench access to the lower brass gas valve. The board moved 45 mm up the left wall that morning.
Sourcing set the real constraints: platform MOQ near 50 units, aluminium soft tooling near 200 units a year, and prototype lead time of 6 to 8 weeks. Custom sheet metal added $9 to $14 per unit at 200-piece FOB; new castings added about $18,000 in tooling; a custom door kit and wire harness added 3 to 4 weeks.
The program advanced only after the team proved a standard unit could not meet the space claim or the 6.2 G vibration profile without a new cradle and control layout.
Every stakeholder then signed one pass/fail sheet: leak rate, BTU stability at altitude, amp draw, surface temperature, noise, service-removal time and warranty exposure. The burner, control board and inlet/outlet cartridge were locked as service-replacement modules.
📐 Engineering Note: Skipping this matrix and “test fitting” a standard unit fails at the service hatch or the vibration fixture. One team lost three weeks and about $4,000 that way.
Step 2: Fix the System Architecture Before Any CAD
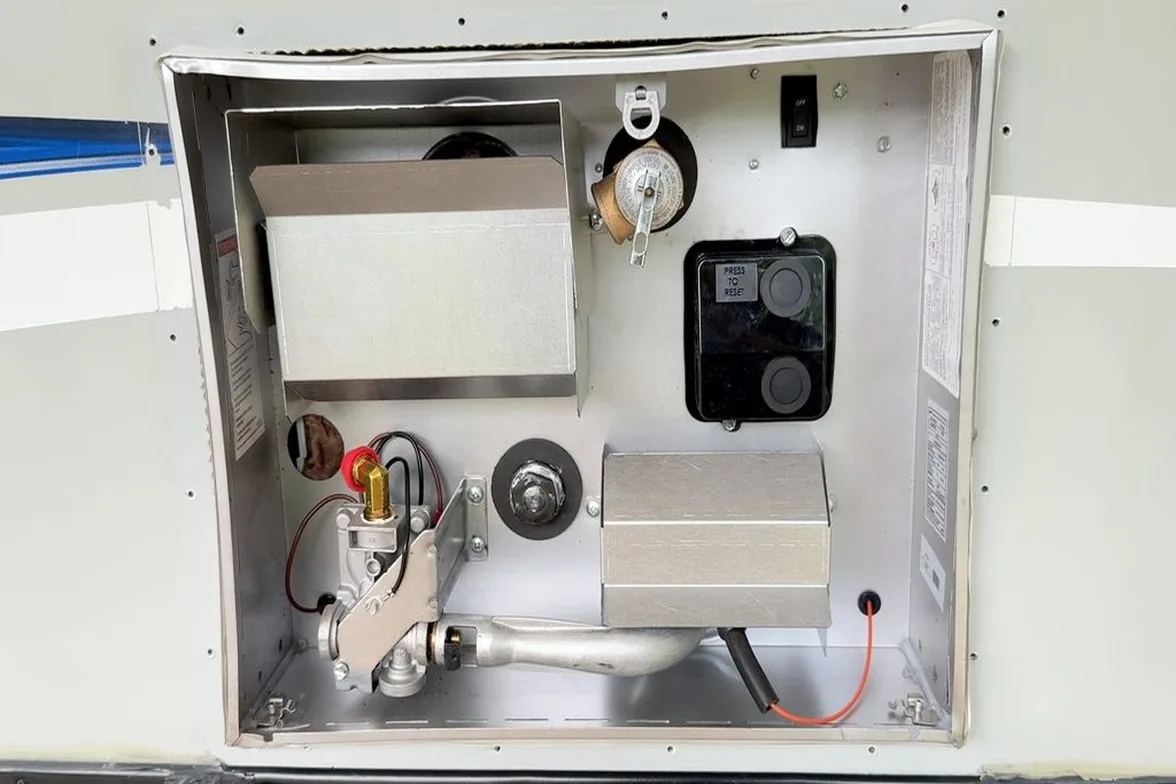
The RV-C protocol specification ties appliance controls directly to venting and power limits. You cannot separate the control design from combustion air, DC/AC power allocation or listing compliance, so lock all three on one drawing first.
Pencil the combustion air path, exhaust termination, heat shielding, condensate and relief drainage, DC supply, ignition and control wiring, AC loads, harness retention and telemetry onto one sheet. One missed line cost a team four weeks; at the design review, an inverter outlet sat 90 mm from the exhaust collar and moved that afternoon.
The primary build uses a propane burner with 12V/24V control logic. All-electric inverter platforms are the alternate: no propane, but extra AC load and battery budget.
Choose the control architecture before routing the harness. Use RV-C CAN at 250 kbps for smart coach systems, so the heater broadcasts temperature and fault codes on standard Data Group Numbers; a fixed-setpoint analog switch is enough for basic vans.
Lock the choice early, because a CAN retrofit needs shielded twisted-pair cable, 6-pin Deutsch DT plugs, a new PCB layout and new wire tooling. Gulfstone’s controls engineer, Liang Wei, refined this mapping through River Cheng’s CAN harness review.
Installation follows the listing and the manufacturer’s instructions. Exact clearances come from the listing file, not generic spacing, and the manufacturing review should confirm them before tooling.
The Chief Industrial Designer’s rule: model every connector and clearance against the prototype harness before cutting a bracket. Check the 3D file against the ANSI/UL boundary and the listing file, then build a full-scale foam mock-up.
A harness that bends past its minimum radius gets rerouted, because that is two days in CAD against six weeks after tooling.
📐 Engineering Note: For low-volume programs, start with a standalone control panel and add the integrated smart path once volume clears the MOQ tier. Two days in a foam mock-up beats six weeks re-cutting steel.
Step 3: Package the Floor to Ceiling Appliance Cabinet in Sections
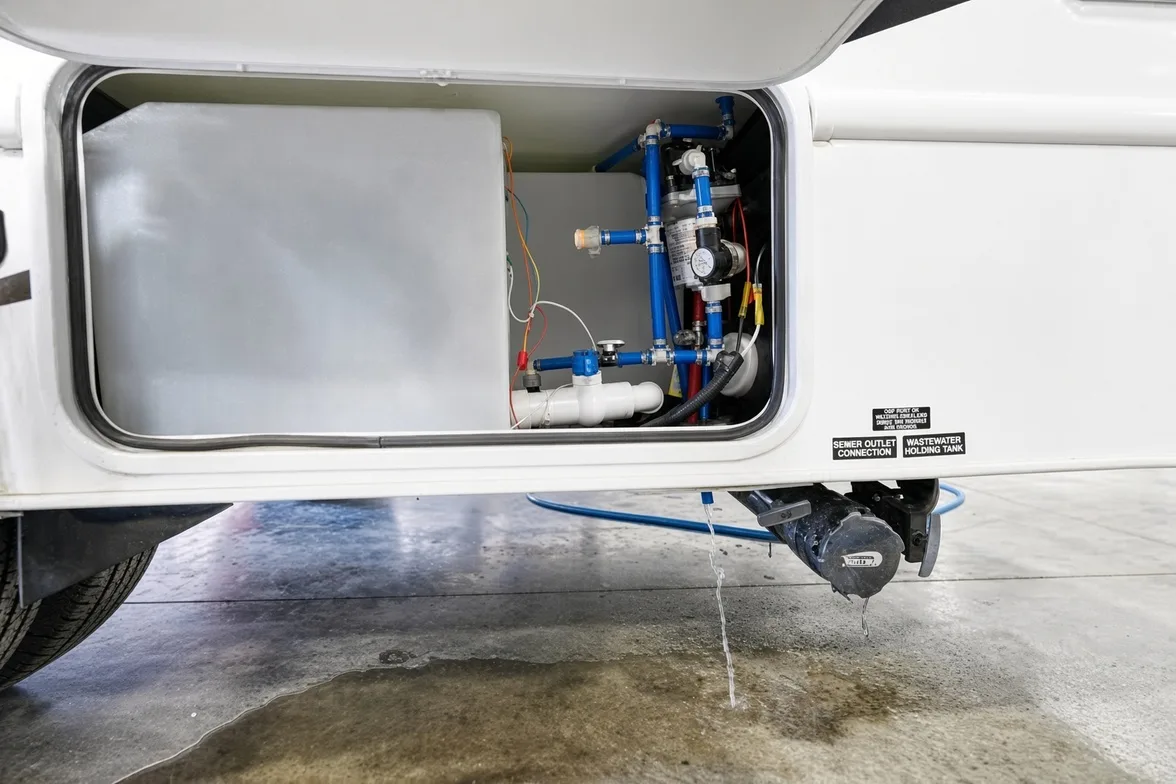
A floor to ceiling appliance cabinet is a packaging principle, not decorative joinery. It packs a heat-producing appliance, ducting and wiring into one vertical column without stealing floor space.
Start at the hard points. Locate chassis frame rails, wall rib positions and floor penetration centres in CAD first; on this program, three rail datums and one roof rib were marked before any metal cut.
Add the appliance envelope, cradle bracket, exhaust and intake duct, harness run and service door as separate solids, each with its own clearance zone, then check the stack as a system.
The prototype shared its right flank with galley storage, and the drawer box overlapped the service door swing by 38 mm. Worse, shaker tests rubbed the main harness raw against a sharp bracket edge, and the lead assembler scraped his knuckles unplugging the power loom.
The team split the cradle into two planes, moved the rear damping point 22 mm outboard and shortened the drawer by 40 mm. Hand clearance jumped from 18 mm to 46 mm.
Document every sheet-metal rule on the drawing. Use 2.0 mm 5052-H32 aluminium for the main cradle to resist road salt, with an inner bend radius of 1.5 times the metal thickness to prevent grain cracking.
Use M6 stainless PEM clinch nuts on panels mechanics open yearly; self-tapping screws strip thin sheet after three service pulls. Specify 40-durometer Shore A closed-cell EPDM gasket and compress it 25 to 30 percent, with drain fall at 3 degrees and no uphill trap.
Keep brackets, door frames and gasket plates laser-cut and CNC-bent through prototype. Reserve hard tooling for the door skin and cradle past 200 units, and see the sheet-metal tooling costs before quoting them.
Test fit until it repeats. Put the real appliance on the bench with a mock harness, swing the door through full travel, insert the service wrench and pull the unit along its removal path. A clean module slides in with light, even resistance and no scrape; a binding bracket fights you halfway.
Verify four things:
- No blocked pressure-relief path.
- No fastener out of tool reach.
- No contact between hot surfaces and sensitive wiring.
- No trapped hands in the service path.
📐 Experience Note: The first cabinet passed CAD and failed the bench. The door closed fine, but the service wrench had nowhere to go, and it cost nine days and one laser-cut panel set.
Step 4: Build and Validate the First Tankless Prototype
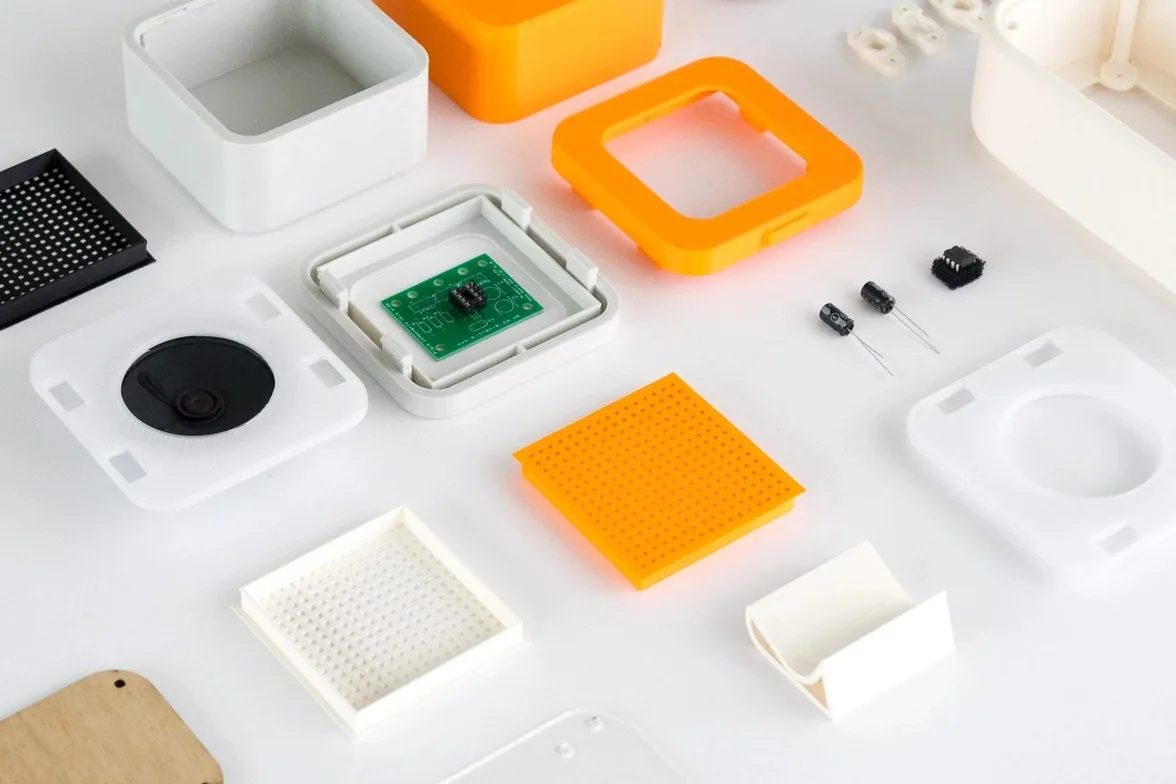
The prototype was a compact gas-fired tankless unit with electrical controls, built to fit a narrow OEM packaging envelope rather than a retail shelf. In the test cell, the 420 x 310 x 260 mm envelope had to hold gas combustion, DC control reliability and road vibration at once.
It did not pass cleanly. The first cold-rolled steel bracket cracked at its right bend during a 6.2 G sweep. The hot relief hose rubbed the main wire sleeve at 40 mm of travel, and the burner loped twice before lighting on cold propane. Ten minutes into the burn, an infrared gun read 63.4°C on the front door, under the 65°C limit but close.
Mechanical engineer Zhou welded a 3 mm gusset onto the bracket, added EPDM isolation at four mounts and rerouted the relief path clear of the harness.
Controls engineer Liang Wei refined ignition logic and temperature regulation through two firmware changes. On the corrected mount the buzz became a damped thud, and 10 mm of ceramic wool dropped the door to 48.2°C.
The validation loop is rigid: concept model, bracket review, physical mock-up, live-fire prototype, revision log and signoff gate. No step gets skipped; a failed mock-up is logged and the CAD rechecked before the next burn.
That gate stopped a release twice. The mock-up confirmed a 46 mm swing clearance past the drawer face, and the live-fire run exposed a flame signal that drifted as the DC harness warmed. The revision log listed 14 items: nine physical, five control logic.
The revised prototype improved performance across every bench metric. Thermal efficiency climbed from 80.9% to 82.6%, and altitude drift tightened from ±7.8% to ±3.2% at 2,400 m.
| Check | First prototype | Revised prototype |
|---|---|---|
| Thermal efficiency trend | 80.9% | 82.6% |
| BTU output stability at 2,400 m (simulated) | ±7.8% | ±3.2% |
| Startup consistency | 7/10 first-try | 9/10 first-try |
| Early vibration | Crack at 6.2 G | Passed 8.0 G sweep |
These numbers came from Gulfstone’s climate test cell at 20°C ambient, using a calibrated Fluke Hydra logger and a hypobaric chamber with a locked 15°C inlet and 5.0 L/min across ten cycles. Internal bench logs clear a prototype for tooling release only; witnessed CSA or Intertek testing comes before selling to upfitters.
📐 Experience Note: Do not tune control logic before fixing bracket geometry. A first firmware patch masked a vibration-induced flame-signal fault for two runs, then it returned on the third.
Step 5: Build the Validation Matrix and Prove Serviceability
Inline descaling ports on a compact tankless heater work well for routine maintenance and poorly as an emergency fix once scale blocks the heat exchanger.
That gap shapes how every RV appliance validates: it drives access design, printed instructions and the cleaning assumptions built around the unit. A system that only works as a rescue tool fails the second owner.
Run four release gates, and do not sign a release on fewer than four:
- Thermal performance: hold rated output across the full duty cycle.
- Altitude stability: simulate 2,400 m and watch burner output.
- Vibration fatigue: run a 3-axis sweep to ISO 16750-3 and SAE J1455, 10 Hz to 500 Hz, for eight hours per axis.
- Field-service time: remove and reinstall inside the 20-minute target.
The team logged six results: burner stability under altitude simulation, service-face overshoot, fastener loosening after the sweep, tubing fatigue at the flex joint, connector retention at the harness clip, and one technician pulling the unit without dismantling nearby cabinetry. Two M6 bolts were loose at 4.1 G.
Confirm wear-item part numbers exist before launch, check door-kit and accessory compatibility, and time how fast a field team can source and swap a burner and cartridge. Ask the parts desk for a quote, then for the shipping lead time. The after-sales page carries the service and claim terms.
Listen for the rattle; it vanished after the damping point moved 22 mm outboard. Once the burner settled into a steady note and the latch moved without drag, the panel was ready.
The design is not release-ready until it survives vibration, holds output consistency and services inside a realistic labour window with shop tools. Those gates are the same ones tracked on the quality-control page.
📐 Experience Note: The first matrix skipped the service gate. The unit passed thermal and vibration, then failed the bench wrench, costing nine days and one launch slot.
🌡️ Field Engineering Note: On one build, the touch-controller datasheet was skipped. The first cold-chamber run failed at -15°C because the scan rate dropped with temperature. Read the application note before the first soak test, not after it.
Troubleshooting Release-Blocking Failures
Most of these failures surface late because teams test function before they test service. Sort them out before signing any release.
1. Why does my RV tankless water heater run too hot?
Summer overheating happens when warm camp water meets a high minimum burner setting. At a 28°C inlet and 2.5 L/min, a weak gas valve cannot turn down far enough, outlet temperature spikes past 55°C and the high-limit switch trips.
Widen the valve modulation ratio to at least 5:1, then tune the PID loop to cut gas flow within 0.5 seconds of a flow drop. That PID update killed the 4.1°C dip during low-flow shower tests. Do not mask the fault by raising flow.
2. Why do brackets crack and panels buzz under road vibration?
Usually weak mount isolation, poor harness strain relief and brackets too soft for the chassis. Add EPDM at the mounts, reroute the harness and stiffen the bracket. The first bracket cracked at 6.2 G; it held after the damping point moved 22 mm outboard.
3. Why does a unit pass function testing but fail release?
It fails at service access, relief routing or vent termination. Reroute the relief line, correct the termination to the ANSI Z21.10.3 listing logic, and redesign the access path until a technician can pull the unit in 20 minutes. Never sign a release on a functional pass alone.
Conclusion: Serviceability and Weight Come Before Aesthetics
For custom RV appliance industrial design, serviceability and weight distribution decide the build. That is a bench lesson: the first bracket cracked at 6.2 G, and the service wrench had no room until the cradle was re-cut.
The workflow in one line: code first, architecture second, real-hardware fit checks third, prototype data fourth, serviceability always. Next, convert the validated prototype into a DFM packet, a supplier RFQ package and a production test plan.
That packet includes 3D STEP files, sheet-metal tolerance stacks, a DFMEA risk log and an end-of-line leak-test procedure, the same PPAP package a sourcing lead expects from a Tier-1 supplier. To start a review, reach the Gulfstone engineering team or scope your platform through OEM & ODM.
📄 Sourcing disclosure: Examples here come from Gulfstone production, tooling and quality-control records; client names are withheld. Validate every decision against your own compliance and margin requirements. I receive no manufacturer kickbacks for these findings.
Frequently Asked Questions About Custom RV Appliance Industrial Design
1. Is tankless worth it for RV life?
Tankless is worth it when the platform can actually package it. On-demand hot water suits a space-constrained camper van, but a standard unit failed the chassis-bay fit, vibration, control integration and certification checks. If the bay will not take it, tankless is not worth forcing.
2. Do you need a pressure relief valve on RV tankless water heaters?
Yes. Relief routing is a hard requirement, not an accessory. The team preserves the relief path on every prototype, route it clear of the harness and recheck it at final panel release. A prototype that vents under the unit or bypasses the relief path does not get approved.
3. Can a floor to ceiling appliance cabinet fit a toilet, heater, fridge and microwave?
Yes, provided each module gets its own clearance zone and the stack is checked as one system. In the program the column held a heating appliance, ducting, a harness run and a service door, and the drawer box still overlapped the door swing by 38 mm until the cradle was re-cut.
4. How well do inline descaling ports work on compact tankless heaters?
In field checks, inline descaling ports work well for routine maintenance and poorly as an emergency fix once scale blocks the heat exchanger. That gap shapes access design and the cleaning instructions built around the unit.
5. How long does a custom RV appliance project take to prototype?
Plan roughly 6 to 8 weeks to a first live-fire prototype, after two to three weeks of spec alignment before concept freeze. Physical panel revisions and firmware changes can add two to four weeks, so budget buffer.

Forward
Co-founder & General Manager, GulfstoneGas appliance manufacturing and certification
Most of what decides a gas appliance is settled before anything is built — on the drawing, at the cut-out, in the tolerance someone chose for the gas path. I have spent my working life on the manufacturing side of that decision, and this is where I write down what it has taught me.
Nothing here is written from a sales desk. Every note comes off the floor: a batch held until a reason was found, a fitting that failed in transit, an approval path that only made sense once the destination market was fixed. If you read these first, the opening conversation starts at the standard rather than at the beginning.
- Gas water heater engineering
- Design for manufacturing
- Certification path selection
- Private-label tooling
- Off-grid and outdoor water heating
- Top 8 Outdoor Portable Gas Water Heater Factories in China for B2B BuyersNov 4, 2026
- How to Build Custom Thermostat UI Design Software for OEM Embedded PanelsNov 3, 2026
- Top 8 RV Water Heater OEM Suppliers Canada: Vetted for Volume BuyersNov 3, 2026
- Top 10 Portable Propane Water Heater Manufacturers USA: A No-Hype Buyer ShortlistNov 2, 2026
- PPWR Compliance Checklist for EU Water Heater Packaging: The 10 Documents Before the Container LoadsNov 2, 2026
- Top 8 Portable Water Heater Manufacturers and Suppliers in China for Camping/RV OEMsNov 1, 2026
Fifteen years in appliance manufacturing — home appliances, RV refrigeration, then gas water heating — from the drawing to the shipping container.
Leads Gulfstone's design-for-manufacturing reviews and the certification path selected for each destination market.
Works directly with OEM and private-label buyers on tooling, tolerances and the approval file.